
Want a warm Thanksgiving home without buying a whole new set of decorations? Start with thrift-store finds, pantry jars, fabric scraps, and a few branches from outdoors. A little paint and simple styling can turn forgotten pieces into a festive table and welcoming entry.
These beginner-friendly DIY home decor projects use affordable materials and straightforward steps. Pick one or two, or mix several for a coordinated look. The ideas are based on real project experience, not theory, so you can skip the guesswork and get decorating.
Gather budget-friendly finds before you start
Look for useful shapes and sturdy materials, not perfect finishes. Check thrift stores, dollar stores, your recycling bin, and home cupboards for:
- Sturdy candlesticks: Mix heights, finishes, and materials for a collected centerpiece.
- Clean glass bottles and jars: Choose a few shapes to repaint or use as votives and utensil holders.
- A wooden bowl or tray: Build a harvest display without buying a new centerpiece.
- Fabric and frames: Look for a thrifted curtain, sheet, napkins, or an old picture frame.
- A small bench or stool: Check that it feels stable before styling it at the entry.
- Seasonal fillers: Gather mini pumpkins, gourds, fall stems, pinecones, and branches.
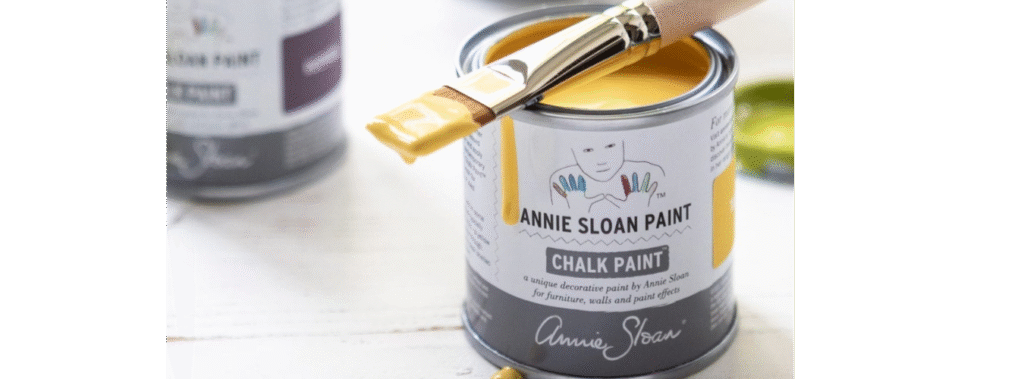
Before painting, clean each item and let it dry fully. Use Dixie Belle paint for decorative painting projects, and follow the product label for surface preparation, application, drying, and sealing. For slick surfaces, check the label to see whether scuff-sanding or a bonding primer is recommended.
Make a centerpiece from thrifted candlesticks and bottles
Time: About 1–2 hours, plus drying time
A few mismatched candlesticks and painted bottles can become a relaxed, layered focal point. Keep the palette simple: warm white, rust, muted green, or soft ochre.
- Wash the bottles and candlesticks. Remove labels and any stubborn residue, then dry everything.
- Paint the outside of selected bottles with thin coats of Dixie Belle paint. Leave some bottles clear for contrast. Follow the label directions and allow each coat to dry as directed.
- If the candlesticks need a refresh, paint just one or two. The mix of painted and original finishes keeps the arrangement from looking too uniform.
- Place fall stems in the bottles, then group everything down the center of the table. Add mini pumpkins or pinecones between the pieces.
Keep the display low enough for guests to see across the table. For the simplest candle-safe option, use LED lights rather than placing a flame near paint, leaves, or fabric.
Create a thankful tree with foraged branches
Time: 30–60 minutes, plus paint drying time
A thankful tree gives guests a simple way to share what they appreciate, and it doubles as a meaningful centerpiece or side-table display.
- Find a stable thrifted vase or pitcher. Wash and dry it.
- Paint the outside with Dixie Belle paint if you want a fresh color. Let it dry and seal as directed on the product label.
- Add clean stones or another heavy filler to help hold the vase steady. Arrange a few foraged branches inside.
- Cut small tags from scrap paper. Set out a pen and invite guests to write a note of gratitude and hang it from a branch.
Check branches for insects and loose bark before bringing them indoors. Keep the arrangement out of walkways and away from flames.

Turn a wooden bowl or tray into a harvest anchor
Time: 15–30 minutes
A thrifted wooden bowl or tray can pull the whole table together. Clean it, dry it, and decide whether it needs any paint. Often, the best refresh is simply styling it with seasonal finds.
- Arrange mini pumpkins, gourds, and pinecones inside the bowl or across the tray.
- Add a few fall stems or leaves for height and texture.
- Place it in the center of the table, or use it on a console or coffee table.
Food-safety note: Keep painted or sealed decorative surfaces separate from food. Don’t serve food directly on a painted bowl or tray unless its coating is specifically approved for that use. Use a clean, food-safe dish or liner instead.
Sew easy fabric accents from thrifted textiles
Time: 30 minutes to 2 hours, depending on the project
A curtain or sheet can become a relaxed table runner. Fabric scraps can become napkin rings. These projects add softness without requiring matching store-bought linens.
For a simple runner:
- Wash and iron a thrifted curtain or sheet.
- Measure the table and cut a strip long enough to drape over each end.
- Fold the raw edges under and stitch them, or use a no-sew hemming method suitable for the fabric.
- Lay it down the center of the table before adding your centerpiece.
For quick napkin rings: Cut fabric into strips, wrap them around rolled napkins, and tie a knot or bow. Keep the rings loose enough to remove easily. If you’re short on time, use fabric scraps as simple ties rather than sewing.
Repurpose a picture frame as a gratitude sign
Time: 30–60 minutes, plus drying time
An old frame can become a menu board or a place to collect thankful notes.
- Remove the backing and glass. Clean the frame and check for loose corners.
- If it has hardware that gets in the way, remove it before painting and keep the pieces together.
- Paint the frame with Dixie Belle paint, following the label directions. Let it dry and seal if the finish calls for it.
- Put the glass back in for a printed menu, or use a suitable chalkboard insert for a reusable sign.
Write the Thanksgiving menu, a welcome message, or a gratitude prompt. Place the frame where guests can read it without crowding the table.
Make simple votives and utensil holders from cans or jars
Time: 30–60 minutes, plus drying time
Save clean tin cans and glass jars for practical tabletop pieces. Use them to hold cutlery, napkins, or seasonal stems. For votives, choose a sturdy, clean vessel and decorate only the outside.
- Remove labels and wash the containers thoroughly. Check tin cans for sharp edges.
- Paint the outside with Dixie Belle paint, or wrap it with fabric or twine. Keep all decoration away from the inside.
- Let paint dry and seal as directed. Use jars or cans as utensil holders once fully dry.
- For candlelight, choose LED tea lights, especially in painted, wrapped, or decorated containers.
Never leave a burning candle unattended. Keep flames away from paper, fabric, twine, leaves, and other decorations. Follow candle safety directions and keep candles out of reach of children and pets.
Style a welcoming entry with a thrifted stool or bench
Time: 1–3 hours, plus drying time
A small bench or stool gives guests a place to pause, set down a bag, or take off a coat. Add a few pumpkins and you have an easy seasonal welcome.
- Check the piece for wobbling, loose joints, or damage. Tighten or repair it before decorating.
- Clean it and let it dry. If it has knobs or other hardware, remove them before painting and store them safely.
- Paint with Dixie Belle paint if the surface and project call for it. Follow the label directions for prep, coats, and sealing.
- Style the bench with a folded coat or cushion and place pumpkins nearby, not where they block the seat or walkway.

Finish your projects in a weekend
You don’t need to complete every idea. Choose one table project, one useful accent, and one entry detail. Clean and prep items first. Paint on day one, then leave enough time for drying and curing according to the product label before styling or use.
For an easy palette, repeat two or three colors around the room. A painted bottle, a fabric runner, and a frame in the same warm neutral can make a collection of mismatched thrift finds feel intentional.

Beginner mistakes to avoid
- Rushing the prep: Dirt and sticky residue can spoil a finish. Clean first and let items dry completely.
- Painting every surface: Preserve some natural wood, glass, or metal for contrast.
- Skipping label directions: Follow the paint’s instructions for preparation, coats, drying, and sealing.
- Using decor as a serving surface: Keep paint away from food-contact areas unless the coating is approved for that use.
- Crowding the table: Leave room for plates, serving dishes, and conversation.
- Putting flame near flammable decor: Choose LED lights around paint, fabric, paper, twine, and dried foliage.
A beautiful Thanksgiving setup doesn’t need to be complicated or expensive. Start with what you have, add a few thrifted pieces, and work step by step. That’s how forgotten finds become festive favorites.
Ready to build your next project with less guesswork? Explore the Beginner Furniture Flip System, compare options in the Furniture Paint Brand Guide, and track costs with the Price It Right Profit Planner.