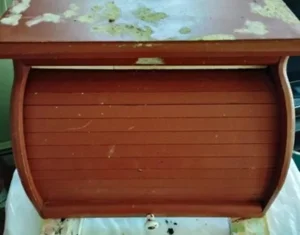
DIY Cutting Board Riser With a Rustic Crackle Finish

Happy Friday, friends!

Welcome back to another edition of Thrifty Flip Friday! Today’s project proves that you don’t need an expensive budget or fancy woodworking tools to create high-end, cozy farmhouse decor.

I recently picked up a small wooden cutting board for just $1 at a thrift store. It was plain and a little tired, but solid wood with great bones. Instead of leaving it flat, I decided to give it some height and a vintage, timeworn look using a crackle paint finish.

Here is how you can turn a simple $1 cutting board into a gorgeous rustic pedestal riser in just a few easy steps
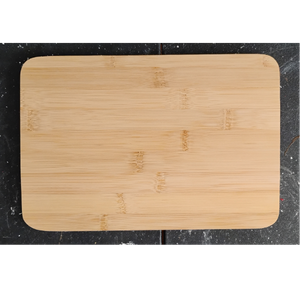
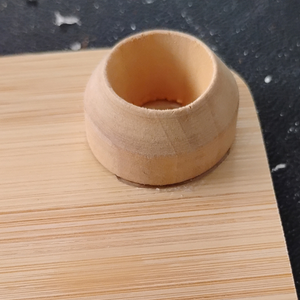
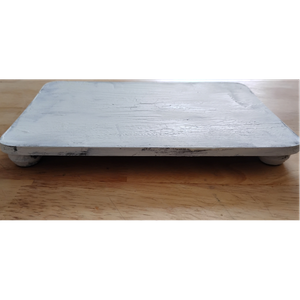
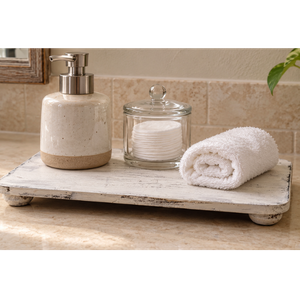
Here is my cutting board that I turned into a decorative riser.
I also had some rounded wooden pieces that were perfect for creating the feet.
I hot-glued one wooden piece to each corner underneath the cutting board to give it a little height.
For this project, I used two paint colors: Waverly Truffle and Waverly Snow White.
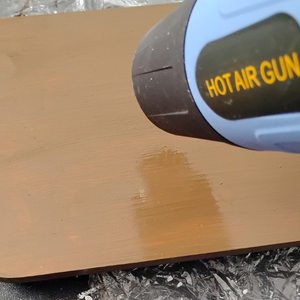
I started by painting the entire cutting board with Waverly Truffle.
To help the paint dry faster, I used a heat gun, keeping it moving and following the paint manufacturer’s drying recommendations.
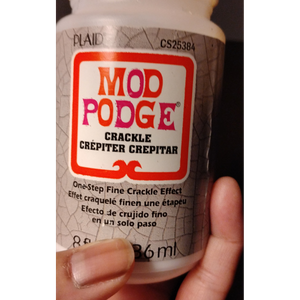
Next, I took out my Mod Podge Crackle.
I applied crackle medium over the entire cutting board, following the product instructions.
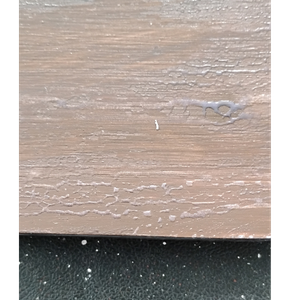
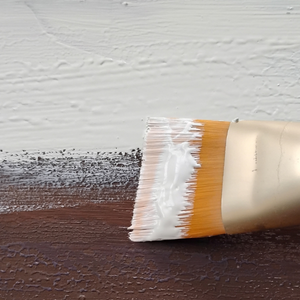
Once the crackle medium was ready for its topcoat, I applied one coat of Waverly Snow White, taking care not to overwork the paint.
Then came the fun part: as the white paint dried, cracks began to appear, revealing the rich Truffle color underneath.
This finish has a rustic farmhouse feel. If you prefer a simpler look, skip the crackle medium and paint the cutting board white instead.

Leave a Comment

Your email address will not be published. Required fields are marked *

Shopping Cart
Scroll to Top