Summer is finally here, and your garden is calling for a little extra love. But you don't need to spend a fortune at the big-box garden center to get that charming, farmhouse look. Some of the best decor is hiding right in your recycling bin or the back of your garage.
If you’ve got old metal buckets, tin cans, or wooden crates, you have everything you need to create a stunning outdoor oasis. At The Crafty Renewal, I believe in turning "trash" into standout home and garden pieces with simple, practical steps. No fancy theory here: just real projects that work.
Let’s dive into how you can repurpose these everyday items into beautiful summer garden decor.
Metal Buckets: The Rustic Garden Workhorse
Metal buckets and galvanized tubs are the gold standard for rustic garden decor. They are durable, weather-resistant, and come in sizes that work for everything from tiny succulents to large floral displays.
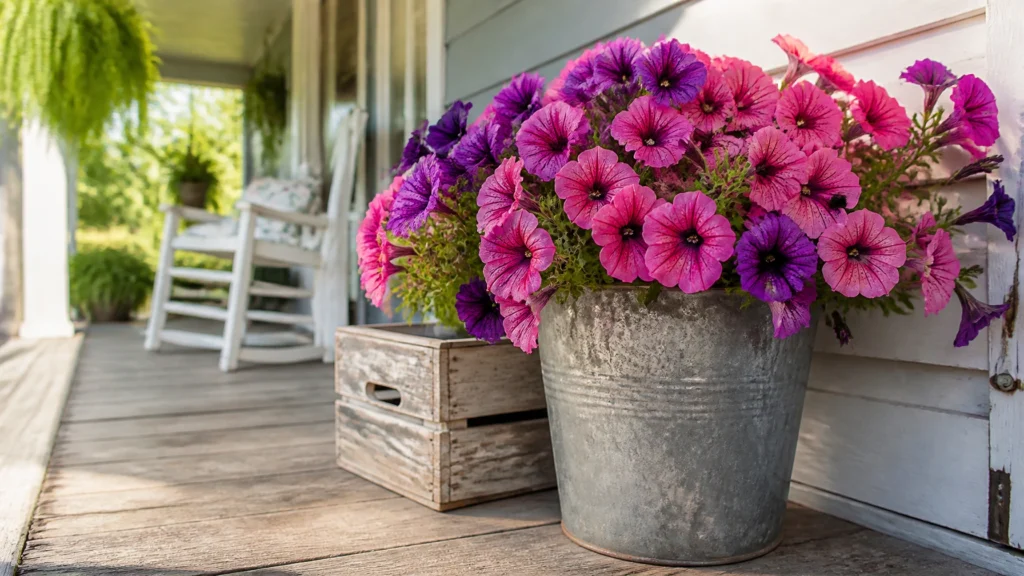
The Statement Planter
Transforming a bucket into a planter is the easiest way to add height and texture to your patio.
Step-by-Step:
- Prep for Drainage: Flip your bucket over. Use a power drill with a metal bit to create 3–4 drainage holes in the bottom. This is non-negotiable! Without drainage, your plants’ roots will rot.
- Add a False Bottom: Large buckets use a lot of soil. To keep them light and save money on potting mix, fill the bottom third with empty plastic water bottles or upside-down nursery pots.
- Fill and Plant: Add high-quality potting soil and your favorite summer annuals. I love mixing "thrillers" (tall plants like salvia), "fillers" (mounded plants like geraniums), and "spillers" (trailing vines like sweet potato vine).
The Aged Patina Trick
Is your bucket too shiny and new? You can give it that "found in an old barn" look in just 24 hours.
How to do it:
- Mix a solution of 2 parts white vinegar to 1 part salt in a spray bottle.
- Spritz the entire exterior of the metal bucket.
- Leave it outside overnight. The reaction will create a beautiful, weathered matte finish that looks like it’s been in the garden for years.
If you are new to working with different materials and want to avoid common pitfalls, my Beginner Furniture Flip System is a great resource to help you build the confidence to tackle any upcycling project.

Tin Cans: Small Scale, Big Impact
Don't toss those soup and coffee cans! They are perfect for vertical gardens, table lighting, and herb displays. Plus, they are practically free.
Vertical Herb Garden
If you have a small patio or a bare fence, a vertical tin can garden is a game-changer.
Step-by-Step:
- Safety First: Use a "safe-cut" can opener that removes the lid without leaving a jagged edge. If you have sharp edges, use a metal file or sandpaper to smooth them down.
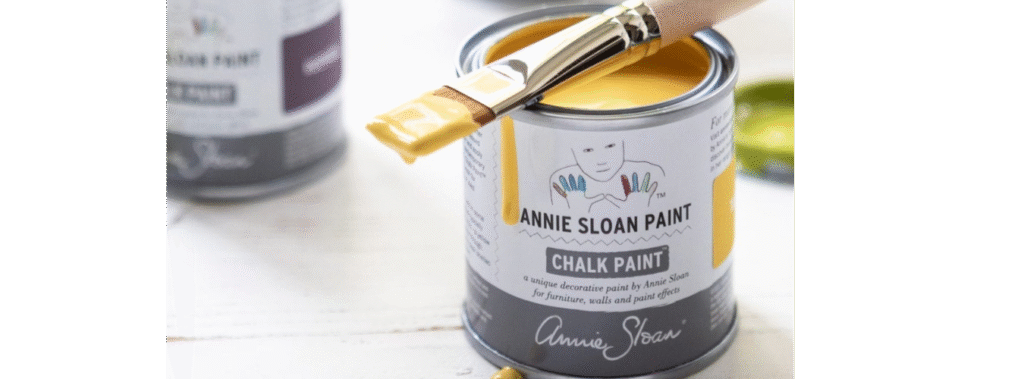
- Paint and Style: Give your cans two coats of outdoor-rated paint. For a coordinated look, check out my Paint Brand Guide to find the best finishes for metal that won't peel in the sun.
- Attach to Fence: Drill a hole near the top rim of the can and another in the bottom for drainage. Use a screw or a sturdy piece of wire to attach the cans directly to a wooden fence or a pallet.
- Label Your Herbs: Use a permanent marker or a small stencil to label each can: Basil, Mint, Cilantro, etc.
DIY Garden Lanterns
Create a magical evening glow with custom punched-tin lanterns.
How to do it:
- Fill your clean tin cans with water and freeze them solid. This prevents the metal from denting while you work.
- Use a hammer and a large nail to punch decorative patterns (like stars or flowers) into the side of the can.
- Once the ice melts, dry the can and add a wire handle.
- Drop in a battery-operated tea light and hang them from tree branches or place them on your garden table.

Wooden Crates: The Ultimate Garden Organizer
Wooden crates bring instant structure and height to your garden. Whether they are vintage finds or new crates from the craft store, they offer endless possibilities for storage and display.
Tiered Plant Display
Stacked crates allow you to display multiple plants in a small footprint, creating a lush, tiered look.
Step-by-Step:
- Seal the Wood: Since these will be outdoors, they need protection. Apply a clear outdoor sealer or a coat of exterior paint to prevent rot.
- Stack and Secure: Arrange your crates on their sides. You can stack them in a "staircase" pattern or a simple vertical column. Use wood screws to secure the crates to each other and, if possible, to a wall or fence for stability.
- Add Your Decor: Place your metal bucket planters on top and tuck your tin can herb pots into the cubbies. This mix of wood and metal creates a beautiful, layered farmhouse aesthetic.
The Mobile Garden Bar
A single crate can become a functional side table for your patio.
How to do it:
- Turn a crate on its side.
- Screw four heavy-duty casters (wheels) into the bottom corners.
- Use the top surface for drinks and snacks, and the interior "shelf" to store your garden tools, gloves, or extra pots.

Essential Prep & Care Tips
To make sure your upcycled garden decor lasts more than one season, keep these practical tips in mind:
- Drainage is King: I can't say it enough. If water can't get out, your plants won't survive. Always drill more holes than you think you need.
- Prevent Rust Stains: If you place metal buckets on a concrete patio, they might leave rust rings. To avoid this, glue small rubber "feet" or bottle caps to the bottom of the bucket to lift it slightly off the ground.
- Protect the Wood: If you are planting directly into a wooden crate, line it with landscape fabric first. This allows water to drain but keeps the wet soil from sitting directly against the wood.
- Start Small: Don't feel like you have to do every project at once. Start with one bucket or a few tin cans to find your rhythm.
Turn Your Hobby into a Side Hustle
If you find yourself falling in love with the upcycling process, you aren't alone! Many people start with garden decor and move on to flipping larger furniture pieces. If you've ever thought about selling your creations, check out my Profit Planner. It’s designed to help you track your costs and price your items so you actually make money doing what you love.
Ready to Start Your Summer Refresh?
Upcycling doesn't have to be complicated. By using what you already have: like those old buckets, cans, and crates: you can create a garden that feels personal, stylish, and sustainable.
Here is your action plan:
- Gather: Go on a "scavenger hunt" in your house and garage for metal and wood containers.
- Clean: Wash away any old labels or dirt.
- Prep: Grab your drill and get those drainage holes ready.
- Style: Choose a color palette and start painting!
I’d love to see what you create. Summer is the perfect time to experiment and find your creative spark. For more step-by-step guides and toolkits to help you on your DIY journey, browse the full collection at The Crafty Renewal.
Happy flipping!