Summer is finally here, and it is time to bring that bright, airy energy into your home. You don't need a massive designer budget to create a stunning dining space. In fact, some of the best diy home decor projects come from things you already own or found for a few dollars at a thrift store.
If you love the farmhouse look, you know it’s all about texture, natural elements, and a "collected over time" feel. Today, I’m walking you through how to build a gorgeous summer tablescape from the ground up without breaking the bank. From repurposed furniture ideas to simple greenery swaps, let’s get your table summer-ready.
Start With Your Foundation: The Table
Before you even think about flowers or plates, look at your table. The farmhouse style thrives on wood textures and a bit of "perfectly imperfect" character. If your current table feels a bit dated or tired, this is the perfect time to learn how to upcycle furniture.
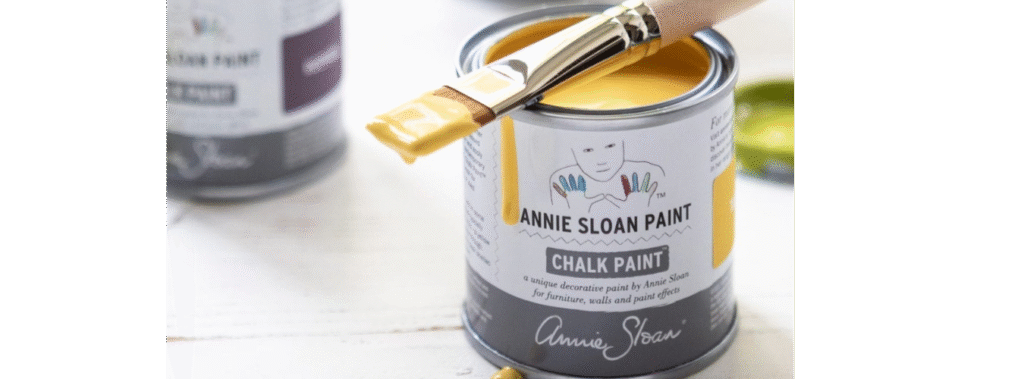
A fresh coat of paint or a quick sanding and restaining can completely transform your dining room. If you’re nervous about starting, my Beginner Furniture Flip System is designed exactly for you. It takes the guesswork out of the process so you can create a piece you’re proud of.
Once your table is ready, skip the expensive store-bought linens.
- Use what you have: An old white flat sheet can be folded into a beautiful, crisp table runner.
- Go for texture: Find a piece of drop cloth or burlap at the hardware store for a rugged, rustic vibe.
- The "Scrunch" Method: Instead of laying a runner flat, scrunch it down the center of the table. This adds immediate movement and visual interest for zero extra cost.
Create a Centerpiece from Repurposed Finds
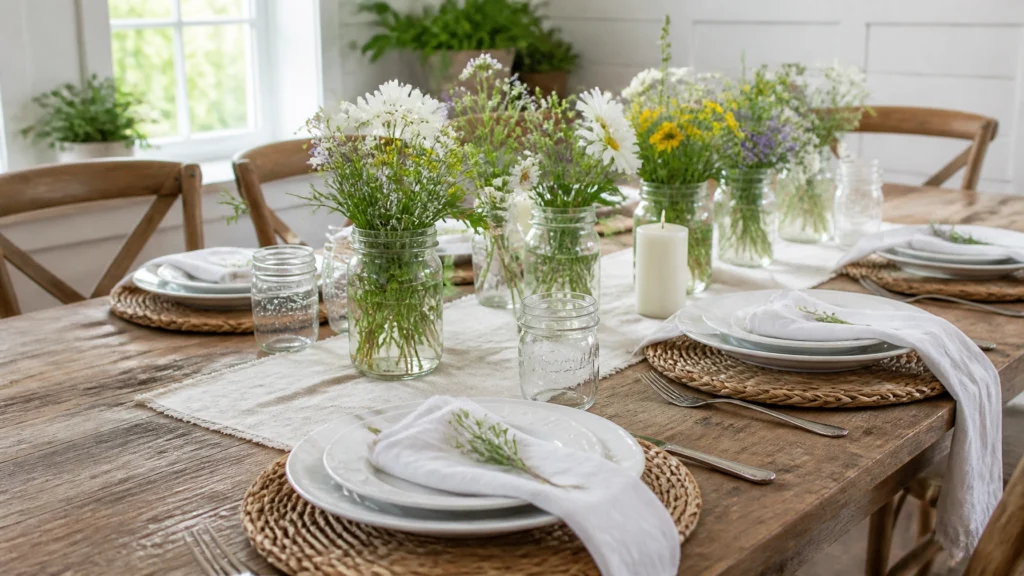
The centerpiece is the heart of your tablescape. You don’t need a $50 crystal vase to make a statement. Look in your recycling bin or your local thrift shop for glass jars and bottles.

Step-by-Step: The Upcycled Jar Trio
- Collect your jars: Save pasta sauce jars, pickle jars, or even wine bottles.
- Clean them up: Use warm soapy water to remove labels. If the glue is stubborn, a little vegetable oil and baking soda does the trick.
- Add a rustic touch: Wrap the neck of the jar with simple jute twine. Tie a small bow to give it that handmade farmhouse feel.
- Fill with nature: Head outside! Clip some stems from your garden, grab some Queen Anne’s Lace from the roadside, or use simple eucalyptus.
By grouping three jars of different heights in the center of your table, you create a focal point that feels intentional and high-end. This is one of those diy home decor projects that costs literally pennies but looks like a million bucks.
Layer Your Place Settings for Texture
High-end farmhouse tables always look "layered." You can achieve this by mixing different materials. Don't worry about having a matching set of 12 plates. Mixing and matching is actually part of the charm.

- Thrifted Chargers: Look for woven seagrass or wicker placemats at thrift stores. They add much-needed organic texture.
- Simple White Dishes: You can’t go wrong with classic white plates. If you don't have them, check the "odds and ends" section of the thrift store. Mismatched white plates in different shapes look incredibly chic when styled together.
- Repurposed Napkins: Use striped kitchen towels as oversized napkins. They are durable, easy to wash, and fit the farmhouse aesthetic perfectly.
- The Final Detail: Fold your napkin neatly and tie it with a bit of twine. Tuck in a single sprig of rosemary or lavender. It smells amazing and looks like a professional did it.
Build Height with DIY Risers
A flat table can look a bit boring. To create drama, you need varying heights. This is where repurposed furniture ideas come back into play. You can easily build a simple wooden riser using scrap wood from other projects.

If you aren't ready to break out the power tools, use a stack of old books (remove the dust jackets for a neutral look) or a thrifted wooden crate turned upside down. Placing your jar trio or a white pitcher on top of a riser instantly elevates the entire look.
Light It Up: Adding the Summer Glow
Summer dinners often linger into the evening. You want lighting that feels warm and inviting.
- Candle Scraps: Don't throw away the ends of your old candles. Melt them down and pour them into small mason jars for "new" farmhouse votives.
- Thrifted Brass: Keep an eye out for brass or wooden candlesticks at yard sales. Don't worry about the color: you can always use my Paint Brand Guide to find the perfect shade of black or white to spray paint them for a cohesive look.
- Overhead Magic: If you’re dining outside, string lights are a must. They create a "canopy" effect that makes the space feel like a high-end bistro.

Pro Tips for Budget Success
Building a beautiful home shouldn't be stressful. Here are my three golden rules for budget DIYing:
- Shop your home first: You’d be surprised what you can find in the back of your cabinets. That old wooden bowl? It’s a perfect fruit centerpiece.
- Focus on the "Rule of Three": When styling your centerpiece, group items in odd numbers. It’s more pleasing to the eye and looks more professional.
- Stick to a palette: For summer, keep it light. Whites, creams, wood tones, and one accent color (like soft blue or sage green) will keep everything looking cohesive.
Start Your Creative Journey Today
Creating a beautiful farmhouse summer tablescape is just the beginning. Once you see what you can do with a few thrifted jars and some garden clippings, you’ll be hooked on the DIY lifestyle.
If you want to take your skills to the next level: maybe even start selling your creations or flipped furniture: you need a system that works. Don't waste time on "trial and error." I've put all my real-world experience into the Beginner Furniture Flip System to help you avoid the common pitfalls and get straight to the fabulous results.
Ready to get started? Grab a jar, find some flowers, and show me your summer table!