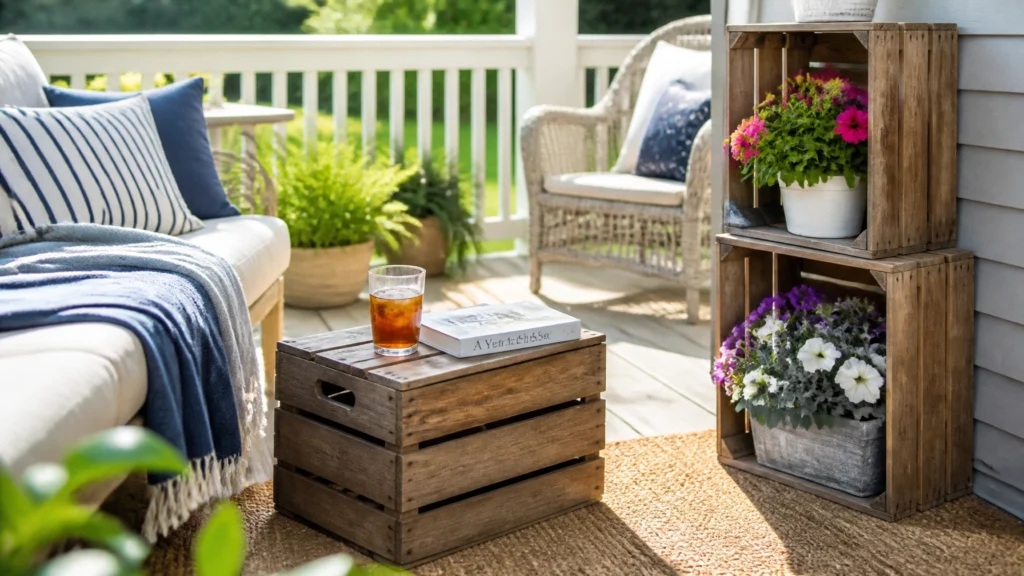
Summer is finally here, and if you're like me, you’re spending every possible second on the patio. But with all those outdoor activities comes a lot of stuff: garden tools, pool towels, citronella candles, and stray flip-flops. Instead of buying generic plastic bins that crack in the sun, why not create something with a bit of soul?
Wooden crates are the ultimate "blank canvas" for beginner flippers. They are affordable, easy to find, and incredibly versatile. In this guide, I’m going to show you exactly how to transform crusty old crates into stunning, weather-resistant patio storage. Whether you want a rolling bar cart or a cute storage bench, we’ve got you covered.
Start With the Hunt: Sourcing Your Crates
The first step is finding the right "bones" for your project. You don't need to spend a fortune on "vintage-style" crates at a big-box store. The best ones are the ones that have a little history.
- Check Local Markets: Farmers' markets often have old fruit crates they’re willing to part with for a few dollars.
- Thrift and Antique Shops: Look for sturdy wine or milk crates.
- Online Marketplaces: Keep an eye on Facebook Marketplace or Craigslist for "curbside" alerts.
When you bring them home, give them a good look-over. You want wood that is dry and solid, not soft or rotting. If they’re looking a little rough, don't worry: that’s what prep is for!
Clean Deeply for a Fresh Start

Before you pick up a paintbrush, you have to get rid of the grime. Old crates have often lived in barns, garages, or outside, which means cobwebs, dirt, and maybe a few resident spiders.
- Brush it off: Use a stiff-bristled brush to knock off loose dirt and debris.
- Wash thoroughly: Mix a bucket of warm, soapy water (dish soap works great) and scrub the wood.
- Dry completely: This is crucial. If you trap moisture in the wood by painting too soon, your finish will peel. Give it at least 24 to 48 hours in the sun to bone dry.
Prep Like a Pro: Sanding for Safety

Old crates are notorious for splinters. Since these will be on your patio where people (and maybe kids) will be grabbing them, you need a smooth finish.
- Safety First: Put on a dust mask and safety glasses. Old wood dust isn't something you want to breathe in.
- Choose Your Grit: Start with an 80-grit sandpaper to knock down the major rough spots. Move to a 120-grit for a smoother surface. You aren't trying to make it look like a factory-finished piece of furniture; you just want it safe and touchable.
- Focus on the Edges: Pay extra attention to the top rims and the handle cutouts. These are the "high-touch" areas.
- Check for Loose Nails: Tap in any protruding nails with a hammer or replace them with wood screws for a more secure hold.
If you’re feeling overwhelmed by the prep process, my Beginner Furniture Flip System walks you through these basics in even more detail, ensuring you don't miss a single step.
Weatherproof for the Great Outdoors

Normal indoor paint won't cut it on the patio. The sun, rain, and humidity will destroy a standard finish in one season. To make your crates last, you need the right products.
- Pick the Right Paint: Use a high-quality exterior paint. These contain UV inhibitors and mildewcides that keep the color from fading and the wood from rotting.
- Stain for a Rustic Look: If you love the wood grain, use an exterior-grade wood stain with a built-in sealer.
- Seal the Deal: For maximum longevity, apply a topcoat of Spar Urethane. Unlike regular polyurethane, Spar Urethane is designed to expand and contract with the temperature changes outdoors. It’s like a raincoat for your furniture!
- Don't Forget the Bottom: Seal the underside and the end grains of the wood. These areas soak up water like a sponge if they're left raw.
Get Mobile: Adding Hardware and Feet

Hardware is where the magic happens. It turns a simple box into a functional piece of furniture.
- Add Casters: Want a rolling storage bin? Screw four small swivel casters onto the bottom corners. This makes it easy to move towels near the pool or roll a bar cart into the shade.
- Install Handles: Heavy-duty gate handles or even thick nautical rope can be added to the sides. It makes lifting easier and adds a professional, finished look.
- Protect from Puddles: If you aren't adding wheels, add small "feet" or wood blocks to the bottom. This keeps the crate slightly off the ground so it doesn't sit in standing water after a summer rain.
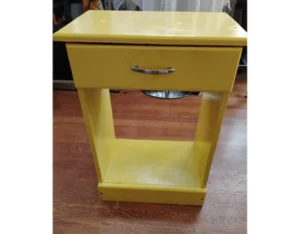
For more inspiration on how hardware can transform a piece, check out our Blue and White Striped Storage Box: it shows how simple accents can create a whole vibe.
Creative Styling: From Basic Box to Patio Star

Now for the fun part: styling! Here are three ways to use your newly flipped crates:
1. The Modular Patio Shelf
Stack three or four crates on their sides to create a vertical shelving unit. Use wood screws to secure them to each other so they don't tip. This is perfect for holding lanterns, potted herbs, or even outdoor speakers.
2. The Rolling Summer Bar
Take a crate with casters, add a few internal dividers (you can use scrap wood for this), and use it to store your outdoor glassware and napkins. Top it with a decorative serving tray for a complete look.
3. The Storage Bench
Create a comfortable seat by adding a plywood lid to the top of a sturdy crate. Wrap a piece of foam in outdoor fabric and staple it to the plywood. Secure the lid with hinges, and you have a hidden spot for garden tools that doubles as extra seating!
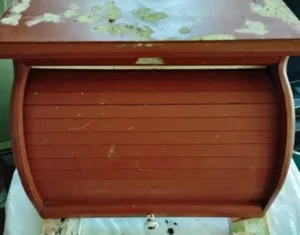
If you like the "farmhouse" look, our Farmhouse Mailbox Storage is another great example of how to combine utility with style.
Track Your Progress and Scale Up
Once you’ve finished your first crate, you’re going to want to do ten more. It’s addictive! If you’re planning to flip these to make a little extra summer cash, make sure you’re tracking your costs. My Profit Planner is a lifesaver for keeping track of what you spent on crates, hardware, and paint so you know exactly how much profit you’re making.
Final Thoughts
Turning old crates into patio storage is the perfect "quick win" project. It’s low-risk, high-reward, and adds so much character to your home.
Ready to start flipping? Grab your sander, find a crate, and let’s make something beautiful. If you want to avoid the common pitfalls and flip like a pro from day one, check out my Beginner Furniture Flip System. It’s the exact blueprint I use for every project.
Happy flipping!