A Christmas wedding can feel magical without filling your cart with brand-new décor. Evergreen, candlelight, thrifted treasures and a few thoughtful handmade touches can turn a simple space into a warm winter celebration.
The secret is to choose a small color palette, gather pieces over time and reuse what you already own. These practical ideas will help you create a personal look, whether you’re celebrating outdoors, in a barn or at home.
Create a snowy ceremony with borrowed and thrifted pieces
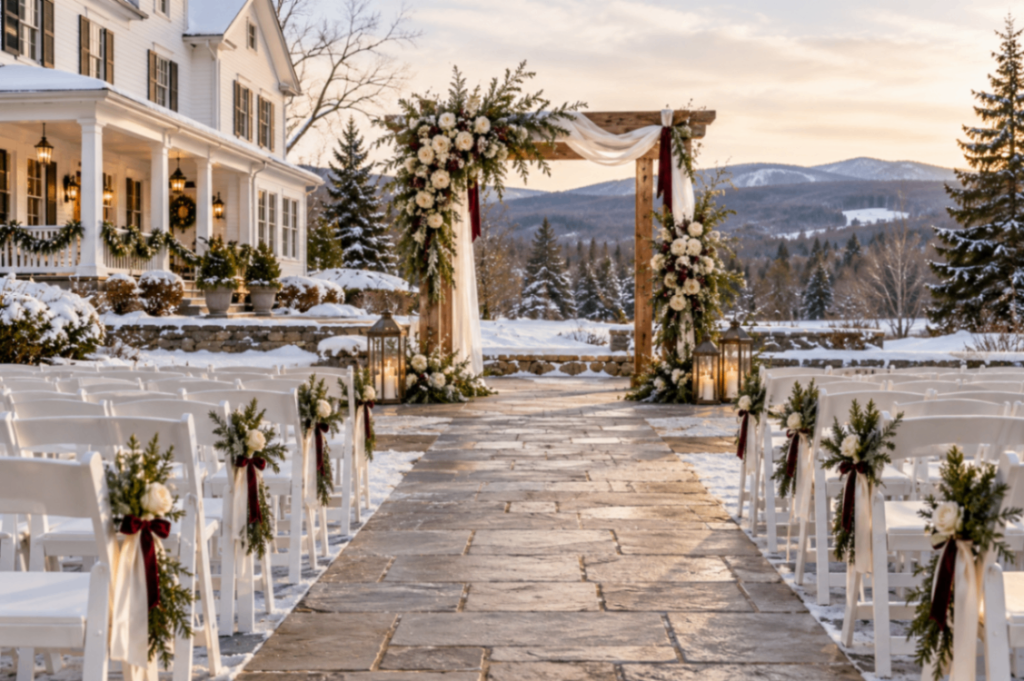
A snowy setting does plenty of decorating on its own. Let the landscape shine, then add a few focal pieces that feel warm and welcoming.
- Build a simple arbor: Use a sturdy reclaimed-wood frame or borrow an arbor. Add white flowers and evergreen, securing each piece firmly.
- Borrow the chairs: Ask family, a church or a community hall about chairs before renting or buying. Add greenery and burgundy ribbon for a coordinated look.
- Thrift the lanterns: Look for sturdy lanterns in different sizes. Use LED candles for an easy, low-risk glow.
- Keep the aisle clear: Place lanterns where guests won’t trip over them, and check the path for snow or ice before the ceremony.
Before planning an outdoor setup, confirm the venue’s weather backup, delivery access and rules for attaching decorations. A beautiful ceremony plan also needs a practical plan for cold, wind and winter ground conditions.
Set a welcoming barn reception with collected finds
A timber barn already brings texture and character. You don’t need to cover every surface. Let the wood show, then repeat a few simple details across the tables.

Start with the essentials: tables, seating, linens and lighting. Ask the venue what it provides before you begin collecting extras.
- Mix the chairs thoughtfully: Mismatched wooden chairs can look intentional when they share similar tones or shapes. Borrow or rent the larger quantities rather than buying them.
- Collect jars gradually: Thrift mason jars and sturdy glass vessels for greenery or flowers. Wash them well and check each one for chips or cracks.
- Use simple runners: Kraft paper makes an affordable runner and can double as a surface for handwritten table names. Red napkins add a clear Christmas accent.
- Group candlelight carefully: Use stable holders, or choose LED candles. Check the venue’s rules before bringing any open flame.
A restrained palette helps thrifted pieces work together. Try evergreen, cranberry, cream, brass and natural wood. Repeat those colors instead of trying to make every item match.
Make a small home wedding feel special
A home wedding can be intimate, comfortable and budget-friendly. Your own dining room may already have the most important pieces: a table, chairs, dishes and a place for guests to gather.

Use a thrifted sideboard as a cake table or display area. Add gold candlesticks, a linen runner and a few red velvet bows to bring the look together. Old sheets can become simple table linens or fabric accents after a good wash and a careful hem.
Before the day, measure your room and map out where guests will sit, eat and move. Clear the walkways, check the number of chairs and plan a separate spot for coats and bags. A smaller guest list makes it easier to use the pieces you already have, and enjoy the celebration without overcrowding the room.
Try beginner-friendly projects that double as décor
Choose projects you can finish well ahead of the wedding. Make one sample first, then repeat it only if you like the result.
Set up a cocoa bar on repurposed furniture
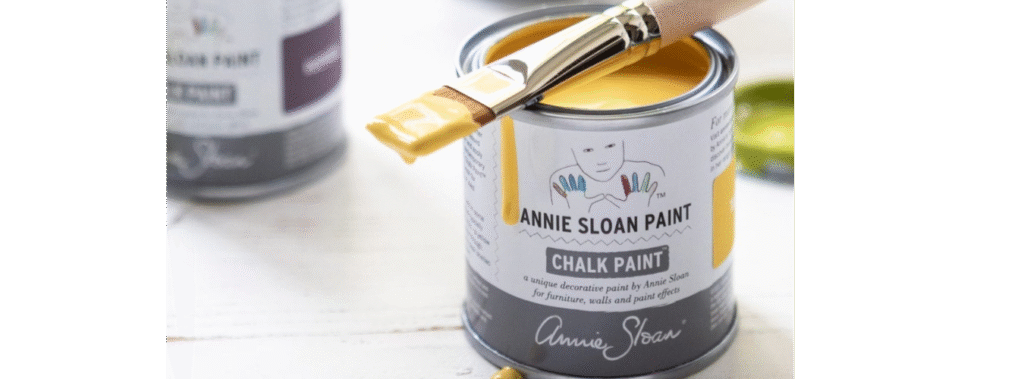
A painted dresser or a pair of crates makes a natural home for mugs, jars and toppings, and it gives the station a little height so the display reads from across the room. Choose something already painted or finished, or give a tired piece a fresh coat of Dixie Belle Chalk Mineral Paint well before the wedding so the finish has time to cure.

To style it, run a tray along the top for the jars of marshmallows, chocolate chips and candy canes, then group the mugs on the other side so guests move in one direction. Tuck evergreen sprigs and a few battery candles between the jars, and thread fairy lights along the front edge for evening warmth. Keep the surface covered with a runner where drinks sit, and wipe up spills quickly so the finish stays protected.
Make a framed welcome sign
Find a sturdy thrifted frame and remove the glass before painting or decorating it. Add a printed welcome sign or write on a backing board that fits inside. Reuse another frame for the seating chart to make the entry feel coordinated.
Style simple centerpiece clusters
Group mason jars with a few small vases or candlesticks. Add evergreen sprigs and seasonal flowers, then vary the heights so the arrangement feels relaxed. Use battery-operated candles near greenery, and keep all centerpieces low enough for guests to talk across the table.
Add personal, low-cost details
- Tie fabric scraps into napkins or pew bows.
- Reuse thrifted ornaments in bowls or place settings.
- Make tags or table numbers from kraft paper.
- Use sheet music or handwritten notes as small accents.
- Display an upcycled family heirloom as your “something old”, and tell guests why it matters.
For more inspiration, browse The Crafty Renewal’s Christmas project gallery and chalk paint recommendations.
Save money with a smart sourcing plan
Spend where you’ll get the most use. Buy small consumables new when that’s simpler; thrift or borrow the bigger decorative pieces.
- Buy at the dollar store: Twine, basic ribbon, craft paper, simple tags and small supplies.
- Search thrift stores: Frames, candlesticks, jars, trays, vases and decorative containers.
- Borrow or rent: Tables, chairs, large lanterns, arches and other bulky items.
- Use what you own: Linens, dishes, serving pieces and family keepsakes can make the celebration feel personal.
Keep an inventory on your phone with item, quantity, source and storage box. This prevents duplicate purchases and helps you spot what’s still missing.
A simple gathering timeline can keep the project manageable:
- Six months out: Set your budget and palette. Start collecting repeatable pieces.
- Three months out: Confirm quantities, venue rules and the layout. Borrow or rent the large items.
- One month out: Test one table setting and finish signs or small projects.
- One week out: Pack décor by area and confirm who is responsible for setup and cleanup.
Avoid these beginner mistakes
- Mixing too many scents: Strong candles, scented greenery and food can compete. Choose unscented candles or skip fragrance.
- Putting drinks on an unfinished painted surface: Protect furniture with a tray or runner. Follow product directions for drying and curing before use.
- Placing greenery beside open flames: Evergreen can catch fire. Keep greenery away from flames, or use LED candles; ask the venue about its fire rules.
- Shopping without a palette: A pile of beautiful finds can still look scattered. Choose three to five colors and use them consistently.
- Leaving setup until the wedding day: Pack and label items in advance. Give a helper a clear setup plan so you can focus on the celebration.
Give your décor a second life
After the wedding, keep meaningful pieces and pass along the rest. A painted dresser can become an entryway accent. Frames, jars and candlesticks can be reused at home, gifted to family or lent to another couple. If you enjoy styling and collecting, sturdy décor pieces may even become the start of a small rental side hustle.
That’s the joy of upcycling: one celebration can lead to many more uses for the things you found, made and loved.
Ready to build your furniture-flipping skills? Explore the Beginner Furniture Flip System, the Mistake Proof Furniture Flip Blueprint, the Paint Brand Guide and the Profit Planner. These practical resources help you plan your next project with confidence.