
I wanted my home to feel festive without buying a cartful of new decorations. So I gave myself one simple challenge: decorate for Christmas using thrift store finds and spend less than $50-including paint.
I visited two neighborhood thrift stores with a short list, a clear budget, and room to change my mind. Here’s what I found, what I passed on, and how a few inexpensive pieces became cozy Christmas décor.
My $50 challenge rules
Before I went shopping, I set three rules:
- Nothing new: Every décor item had to be secondhand.
- No full-price shopping: No retail detours for ribbon, ornaments, or “just one more thing.”
- Paint counts: I included the paint and sealer used in my final total.
I also decided to choose pieces for their shape and usefulness, not whether they looked perfect on the shelf. A little wear was fine. I wanted a simple palette of evergreen, warm brass, cream, and natural wood to make different finds feel connected.
First stop: shop with a plan
At the first store, I looked for a small piece of furniture, a tray, and a few tabletop decorations. I found a modest side table for $7. It had a scratched top and dated hardware, but it felt sturdy. That was enough for me.
I also spotted a wooden tray for $2. It was scuffed, but its simple shape would work beautifully as a centerpiece.
Running tally: $9
I passed on a large artificial wreath marked $12. It was shedding, and I already had enough greenery at home to make a small arrangement. I also left behind a box of mismatched ornaments. The price was tempting, but I didn’t need a pile of extras.

Second stop: choose pieces that work together
At the second store, I found a cream ceramic Christmas tree for $3, a pair of brass candlesticks for $4, a small framed print for $3, three simple ornaments for $2, and a glass vase for $1.
Nothing matched exactly. That was okay. The shared colors and small scale helped the pieces work together.
Running tally: $22
I skipped a bulky, glitter-covered decoration for $5. It was charming, but it didn’t fit my palette, and it would have used a big chunk of the budget. I also passed on a chair that needed repairs. A cheap price isn’t a bargain if the fix takes more time or supplies than you planned.
The side-table flip: clean, paint, and seal
At home, I started with the side table. I cleaned it well and checked that it felt stable. Then I removed the drawer and took off the knobs before painting. Removing hardware keeps paint off the knobs and makes the finish neater.
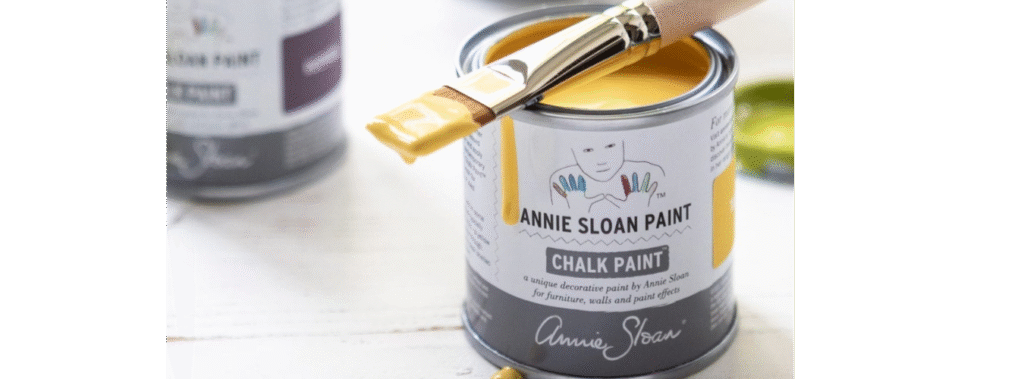
I used Dixie Belle Chalk Mineral Paint in Evergreen for a rich green finish. I applied two light coats, letting the paint dry between them. Once the final coat was dry, I sealed the table with Dixie Belle Clear Coat Flat, following the product directions.

For the budget, I counted the amount of paint and sealer used, not the full cost of containers that still had plenty left for future projects. I assigned $4.50 to the paint and $1 to the sealer. I already owned the brush and cleaning supplies, so I didn’t buy new ones for this challenge.
Running tally: $27.50
The tray needed less work. I cleaned it, let it dry, and kept its worn wood finish. Rather than paint every piece, I used it to gather a few small decorations into one tidy centerpiece.

I set the brass candlesticks on the tray, added the ceramic tree and a couple of ornaments, then tucked in a little greenery from home. The glass vase held a few more clippings. The framed print went on a nearby shelf.
What $50 actually bought
My finds gave me a painted accent table, a ready-to-style tray, candlelight, a little Christmas art, and small decorations for a few different spots. I didn’t decorate every corner. I focused on a few groupings that made the room feel festive without feeling crowded.
This is one reason I enjoy DIY home decor projects like this. You don’t need a matching set. You need a few useful shapes, a simple color plan, and the patience to look past scuffs.
Total spent
| Find or material | Cost |
|---|---|
| Thrifted side table | $7.00 |
| Thrifted wooden tray | $2.00 |
| Cream ceramic Christmas tree | $3.00 |
| Pair of brass candlesticks | $4.00 |
| Framed print | $3.00 |
| Three ornaments | $2.00 |
| Glass vase | $1.00 |
| Dixie Belle Evergreen paint used | $4.50 |
| Dixie Belle Clear Coat Flat used | $1.00 |
| Total | $27.50 |
That left $22.50 under my limit. I didn’t spend it just because it was available. The point was to make the most of what I found, not to fill every open space.
What I’d do differently next time
I’d bring a tape measure and take a quick photo of the space I’m decorating before I shop. It’s easy to fall for a piece that looks small on a thrift-store shelf but feels oversized at home.
I’d also set aside a little more time to check furniture closely. Look for wobbling, strong odors, loose joints, and damage that might need extra materials. A simple how to upcycle furniture project is much more enjoyable when you know what you’re bringing home.
For more practical ideas, see our guides to eco-friendly interiors with sustainable furnishings and restoring furniture on a budget.
Beginner mistakes to avoid
- Buying without a palette: Pick two or three colors before you shop.
- Ignoring condition: Check furniture for stability and repairs before paying.
- Painting over hardware: Remove knobs and pulls first for a cleaner finish.
- Skipping prep: Clean surfaces before applying Dixie Belle paint.
- Forgetting the finish: Seal painted pieces with a suitable Dixie Belle topcoat when the surface needs added protection.
- Shopping to the limit: A budget is a cap, not a target.
Try your own $50 challenge
Start with one room or one small area. Make a list before you go, then shop with a firm spending limit.
- Set a total budget that includes paint and sealer.
- Choose a simple color palette.
- Visit one or two thrift stores with a short shopping list.
- Check each piece for condition and usefulness.
- Pick one item to clean, paint, or repurpose.
- Track each purchase as you go.
- Stop when the space feels finished, not when the budget runs out.
These repurposed furniture ideas are based on real projects, not theory: start small, prep carefully, and let a useful secondhand find become something you’re excited to display.
Want a step-by-step plan for your next flip? Explore the Beginner Furniture Flip System, the Mistake Proof Furniture Flip Blueprint, the Paint Brand Guide, and the Profit Planner.