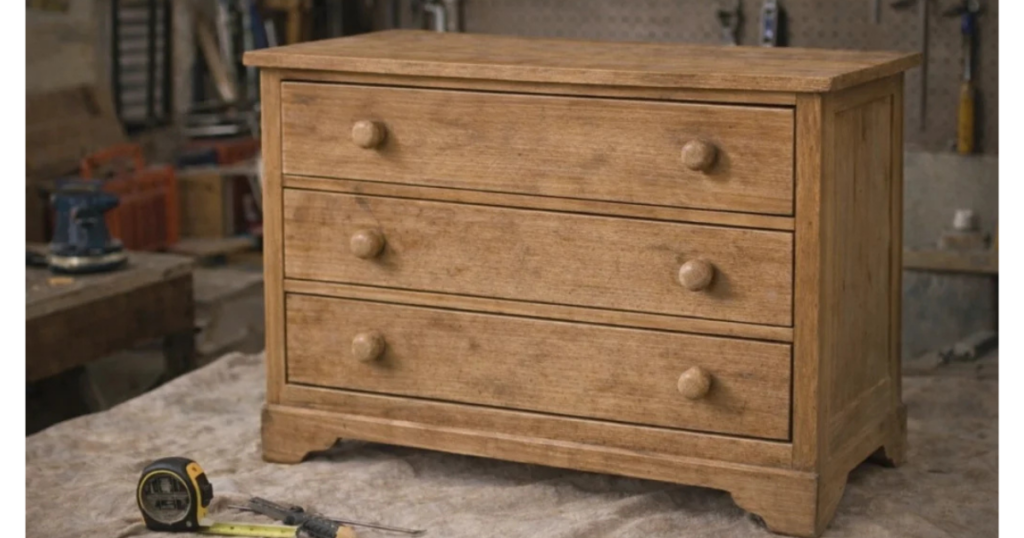
You found it. That solid wood dresser at the thrift store with the “good bones” but a cringeworthy 1980s orange oak finish. Or maybe you have a family heirloom gathering dust in the garage because it just doesn’t fit your vibe.
Learning how to paint wood furniture is the ultimate superpower for any homeowner. It allows you to skip the big-box store prices and create a home that looks high-end on a DIY budget. But if you’ve ever tried to just “slap some paint on it,” you know that the results can be… well, sticky, chippy, and frustrating.
If you’re looking for furniture flipping for beginners advice that actually works, you’re in the right place. At The Crafty Renewal, we believe in practical results. This isn’t about artistic theory; it’s about a repeatable blueprint for a professional, durable, and flawless finish.
Let’s get your hands dirty and turn that “meh” piece into a masterpiece.
Why Preparation is Your Best Friend
Before we pick up a brush, let’s address the elephant in the room: preparation. Most people want to jump straight to the color. However, 90% of a professional finish happens before the paint lid even pops open. Skipping prep is the fastest way to join the list of beginner furniture flipping mistakes that ruin potentially great pieces.
A “flawless finish” means the paint is smooth to the touch, free of drips, and: most importantly: it doesn’t peel off when you set a coffee cup down.
Phase 1: The Setup and Deep Clean
1. Clear the Deck
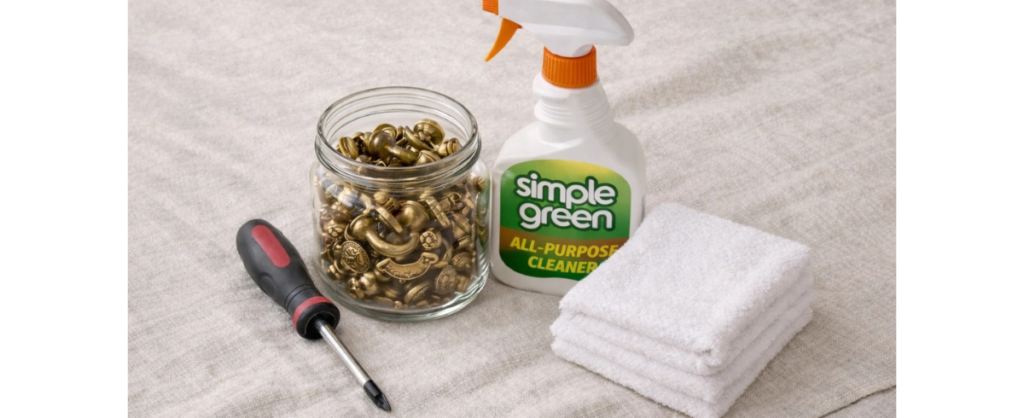
Find a well-ventilated space. Your garage or a covered patio is perfect. Lay down drop cloths. Trust me, even the “cleanest” painters drip. Remove all hardware: knobs, pulls, and hinges. Use a screwdriver and put all those tiny screws into a labeled baggie. You’ll thank me later.
2. The Power of Simple Green
Furniture lives a hard life. It accumulates years of skin oils, furniture polish, wax, and dust. Paint hates grease. Grab a bucket of warm water and Simple Green All Purpose product (a heavy-duty degreaser). Scrub every inch of that wood. If you don’t remove the grime, your paint will literally slide off or crackle. Once scrubbed, wipe it down with clean water and let it dry completely.
Phase 2: Scuff Sanding (The Secret to Adhesion)
Many “no-sand” paints claim you can skip this, but if you want a finish that lasts years, don’t listen to them. DIY furniture refinishing requires “tooth.”
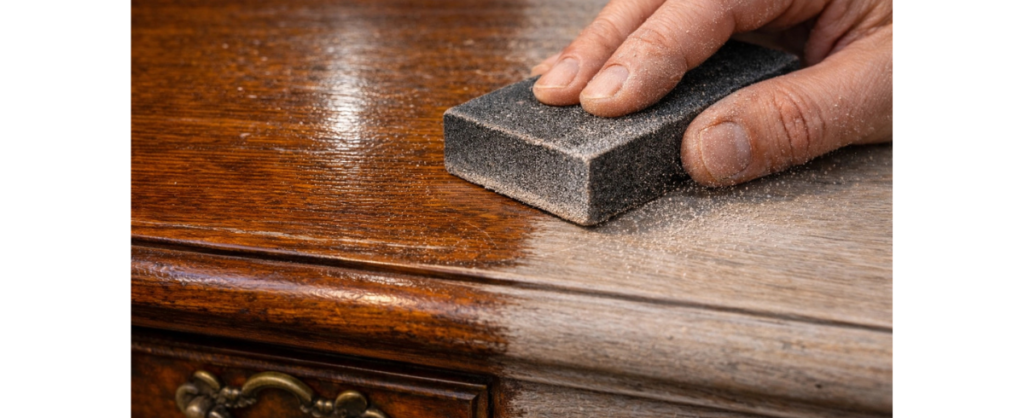
3. Create the “Tooth”
Grab 120-grit sandpaper. You aren’t trying to sand the piece down to bare wood; you just want to take the shine off the existing finish. This creates microscopic scratches that give the primer something to grab onto.
- Pro Tip: Always sand in the direction of the wood grain.
- The Wipe Down: After sanding, your piece will be covered in fine dust. Use a tack cloth or a damp, lint-free microfiber cloth to remove every single speck. If you leave dust behind, your finish will feel like sandpaper.
Phase 3: The Magic of Priming
If sanding is the “tooth,” primer is the “glue.” Especially when you are learning how to paint wood furniture, primer acts as your insurance policy. It prevents “bleed-through”: those annoying yellow or pink stains that seep through white paint from old wood tannins.
4. Apply Your Foundation
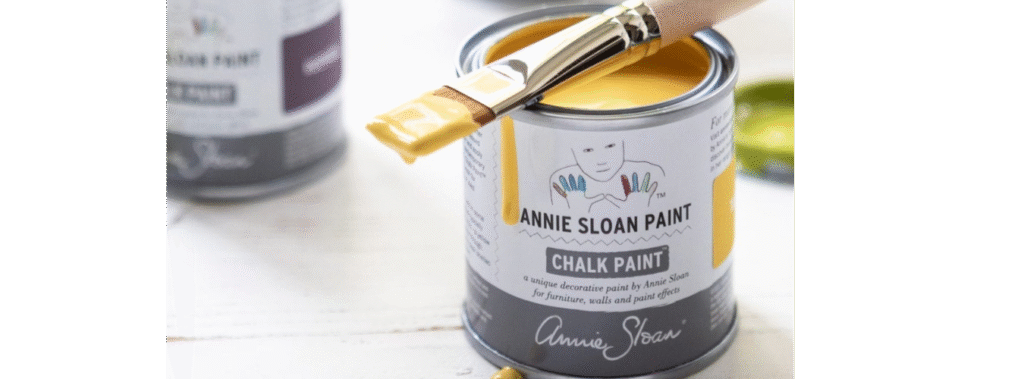
Use a high-quality primer. For pieces with odors or heavy stains, I highly recommend a shellac-based primer like Zinsser B-I-N. It’s thin, smells strong (wear a respirator!), but it blocks everything.
Apply an even coat using a synthetic brush for the corners and a small foam roller for the flat surfaces. Don’t worry if it looks a bit streaky; primer isn’t meant to be pretty. If you’re looking for the best products to use, our Paint Brand Guide (available through our resources) breaks down exactly which primers work for different wood types.
5. The “Secret” Sand
Once the primer is dry, you might notice the wood grain feels a bit fuzzy or raised. This is normal. Take a fine 240-grit sandpaper and lightly: very lightly: glide it over the primed surface. This removes any tiny bubbles or dust nibs. Wipe it clean again. This extra five minutes is what separates an amateur flip from a professional-looking piece.
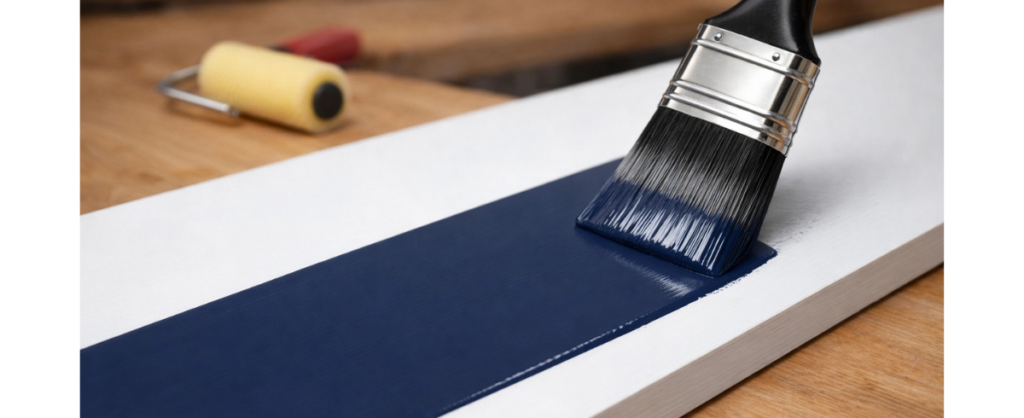
Phase 4: Painting for a Flawless Finish
6. Thin Coats Win the Race
The biggest mistake beginners make is trying to get full coverage in one coat. This leads to drips, visible brush strokes, and “gloopiness.”
- Step A: Use a high-quality angled brush to “cut in” to the corners, details, and recessed panels.
- Step B: Use a 4-inch microfiber or foam roller to roll out the large, flat areas. This helps level the paint and minimizes brush marks.
- Step C: Let it dry. Check the back of your paint can for “re-coat” times. Usually, 2-4 hours is the sweet spot.
7. Repeat and Refine
Apply a second coat using the same method. Most furniture requires 2 to 3 thin coats for a rich, opaque color. If you see a drip or a stray hair after the first coat, wait for it to dry, sand it out with your 240-grit paper, and then proceed with the next coat.
Phase 5: Sealing the Deal
You’ve spent hours on this piece: don’t let a vacuum cleaner scuff or a spilled drink ruin it.
8. Choose Your Protection
Some paints (like many “all-in-one” mineral paints) have a built-in topcoat. However, for high-traffic items like dining tables or coffee tables, I always recommend an extra layer of protection. A water-based polycrylic in a satin or matte finish provides a durable shield without yellowing over time.
Apply the topcoat with a dedicated, clean foam brush or a high-quality topcoat sponge. Use long, continuous strokes and don’t “over-work” it, or you’ll create bubbles.
Putting It All Together: The Furniture Flip Mindset
If this feels like a lot of steps, take a deep breath. Following a system is what makes this hobby enjoyable rather than stressful. If you want a complete, foolproof roadmap, our Beginner Furniture Flip System walks you through these steps with even more detail, including how to pick the right pieces to flip for profit.
Quick Value Checklist for Your First Project:
- Quality Brushes: A $15 brush is better than five $2 brushes. It won’t shed bristles into your wet paint.
- Lighting: Paint in a well-lit area so you can catch drips before they dry.
- Patience: Let the paint “cure.” Even if it’s dry to the touch, it takes a few days (or weeks) for the paint to fully harden. Treat your piece gently for the first 14 days.
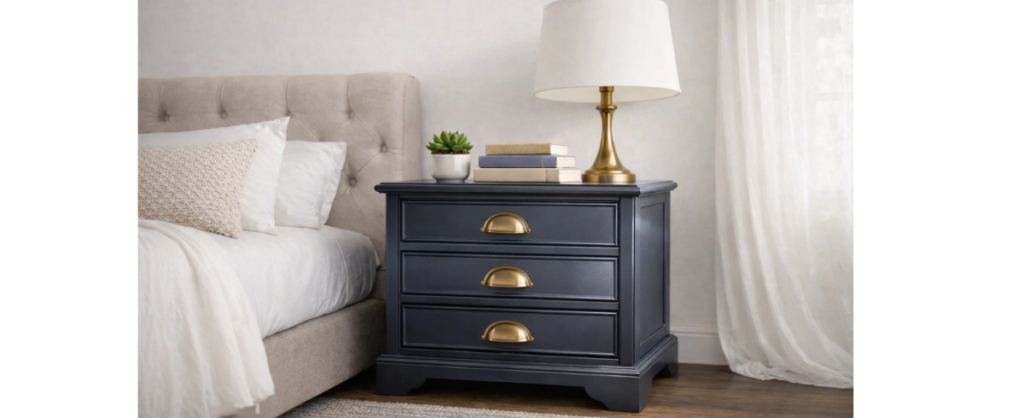
Ready to Transform Your Home?
Painting furniture isn’t just about the furniture; it’s about the feeling of looking at something beautiful and saying, “I made that.” It’s about taking something forgotten and giving it a new life.
If you’re looking for inspiration on your next project, check out our Before & After Gallery to see what’s possible with just a bit of sandpaper and a can of paint.
Don’t wait for the “perfect” time to start. Find a small side table, grab your supplies, and start your diy furniture refinishing journey today. You’ve got this!
For more practical tips, head over to The Crafty Renewal and explore our latest guides on everything from holiday decor to advanced upcycling techniques. Happy flipping!