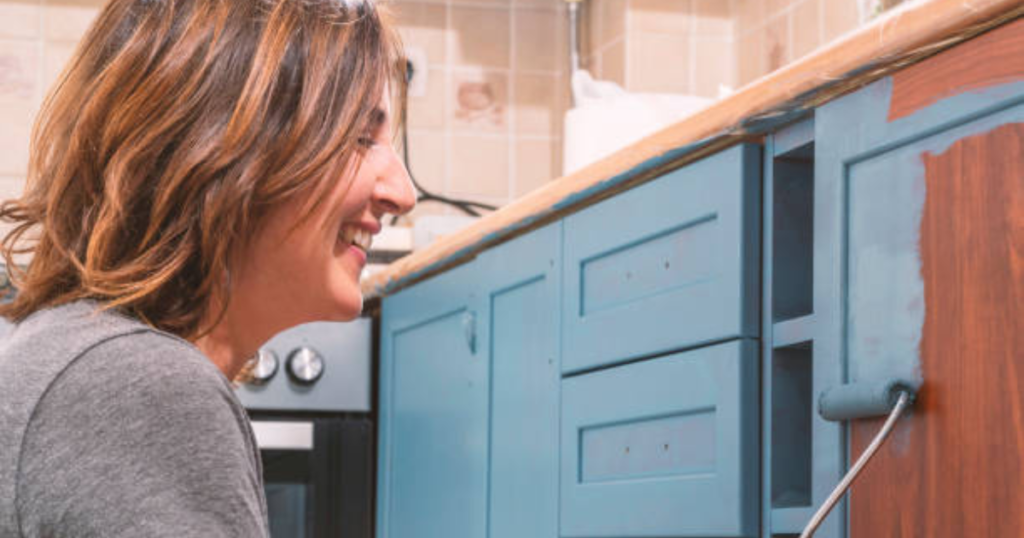
Let’s be honest: nothing transforms a kitchen or a bathroom faster than a fresh coat of paint on the cabinets. It is the ultimate DIY high. You see those “before and after” photos on Pinterest, and suddenly, you’re standing in the paint aisle of your local hardware store with a dream and a roller.
But here is the reality check from one DIYer to another: cabinet painting is a marathon, not a sprint. It’s a project where the details matter more than the final brushstroke. At The Crafty Renewal, we’re all about giving old furniture a second life, but we want that life to last longer than a few months.
I’ve seen it all: peeling doors, sticky drawers, and visible brush marks that look like they were applied with a broom. Most of these “Pinterest fails” happen because of a few common, avoidable mistakes.
If you’re ready to level up your home decor game, let’s dive into the seven mistakes you’re probably making and, more importantly, how to fix them like a pro.
1. The Grease Trap: Skipping the Deep Clean
You might think your cabinets look clean, but if they are in a kitchen, they are covered in a thin, invisible layer of grease, steam residue, and finger oils. Paint is a diva: it will not stick to grease. If you paint over that grime, your beautiful new finish will start peeling off in sheets within weeks.
The Fix: Use a heavy-duty degreaser like TSP (Trisodium Phosphate) or a dedicated “de-glosser.” Don’t just wipe; scrub. Pay extra attention to the areas around the handles and the base of the cabinets where shoes kick up dirt.
Pro Tip: Once you’ve cleaned them, wipe them down again with plain water to remove any soap residue. Your cabinets should feel “squeaky” clean before you move on.

2. The “Lazy” Hardware Approach: Painting Around Hinges
I get it. Removing 24 cabinet doors and 48 hinges feels like a lot of work. You think, “I’ll just be really careful with a small brush.”
Don’t do it.
Painting around hinges leads to paint buildup in the hardware, which eventually cracks and flakes when the door opens and closes. It looks messy, unprofessional, and screams “amateur hour.”
The Fix: Take the doors off. Remove every single hinge, knob, and screw. To stay organized, use a small collection storage box to keep all your hardware in one place. Trust me, you do not want to be hunting for that one missing screw when you’re trying to finish the job.
Pro Tip: Label your doors! Write a number in the hinge cup or on a piece of painter’s tape on the back of the door and the corresponding cabinet frame. You’ll thank yourself during reassembly.
3. Sanding Short-Cuts: Thinking “No-Sand” Is a Reality
We’ve all seen the products that claim “No Sanding Required!” While some high-end bonding primers are incredible, skipping the sanding process entirely is a gamble you usually lose. Most factory-finished cabinets have a slick topcoat designed to repel liquids. If it repels water, it will repel your paint.
The Fix: You don’t need to sand down to the bare wood. You just need to “scuff sand.” Use 120-grit to 220-grit sandpaper to break the gloss of the existing finish. This creates “tooth” for the primer to grab onto.
Pro Tip: After sanding, use a vacuum with a brush attachment followed by a tack cloth to remove every speck of dust. If you leave dust behind, it will get trapped in your paint and create a gritty texture.

4. Primer Paranoia: Using the Wrong Type (or None at All)
Primer isn’t just “extra paint.” It’s the chemical bond between the wood and your color. If you’re painting over dark wood or oak, you also have to deal with “tannin bleed.” Those are the yellow or brown spots that soak through your white paint no matter how many coats you apply.
The Fix: Stop using standard wall primer. For cabinets, you need a bonding primer or a shellac-based primer. Shellac-based primers are the gold standard for DIYers because they block stains, seal in odors, and stick to almost anything.
Pro Tip: If you’re going for a dark final color, ask the paint shop to tint your primer. It will help you achieve full coverage in fewer coats.
5. The Wall Paint Blunder: Choosing the Wrong Finish
This is the biggest mistake I see. You have half a gallon of “Eggshell White” leftover from the living room, so you decide to use it on the cabinets.
Wall paint is designed to sit on a wall and look pretty. It is not designed to be touched, scrubbed, or slammed daily. Wall paint is too soft for cabinets; it will remain tacky, and your doors will literally stick to the frames.
The Fix: Invest in a dedicated cabinet enamel or a “Urethane Alkyd” paint. These paints are designed to level out smoothly (minimizing brush marks) and dry to a hard, durable finish that mimics a factory look.
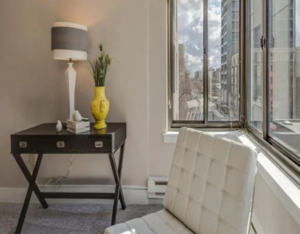
While you’re updating your space, think about the surrounding decor. A distressed white side table or a barn red farmhouse entryway table can complement your newly painted cabinets and tie the whole room together.
6. The “Is It Dry Yet?” Hustle: Rushing the Process
DIY cabinet painting is a multi-day project. If you try to do it in a Saturday, you will fail. Paint has two stages: “Dry to the touch” and “Cured.” Just because it isn’t sticky doesn’t mean it’s hard. If you flip a door over to paint the other side too soon, you’ll end up with smudges or the paint will peel off onto your work surface.
The Fix: Follow the instructions on the back of the can religiously. Most cabinet paints require 4 to 24 hours between coats.
Pro Tip: Set up a dedicated “drying station.” Use painter’s pyramids or even plastic cups to prop up the doors so air can circulate underneath them. This prevents them from sticking to your drop cloth.
7. Bargain Brushes: Letting Your Tools Sabotage You
You can buy the most expensive paint in the world, but if you apply it with a $2 brush, it’s going to look like a $2 job. Cheap brushes shed bristles (which get stuck in your wet paint) and leave deep, unsightly ridges. Cheap rollers leave behind lint that makes your cabinets look like they have hair.
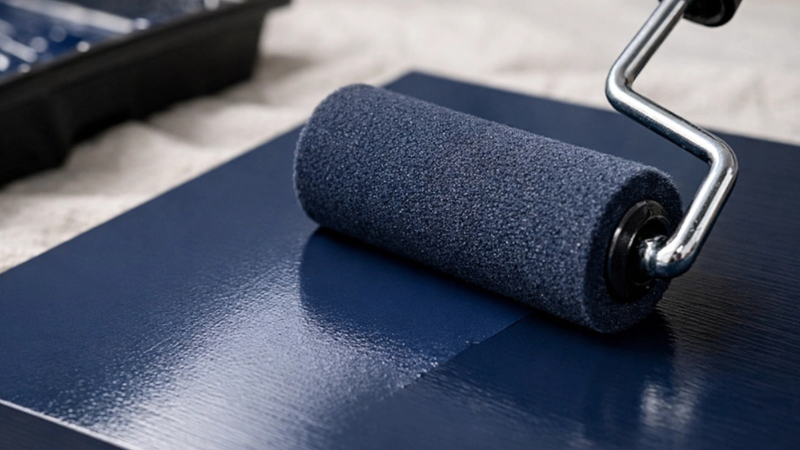
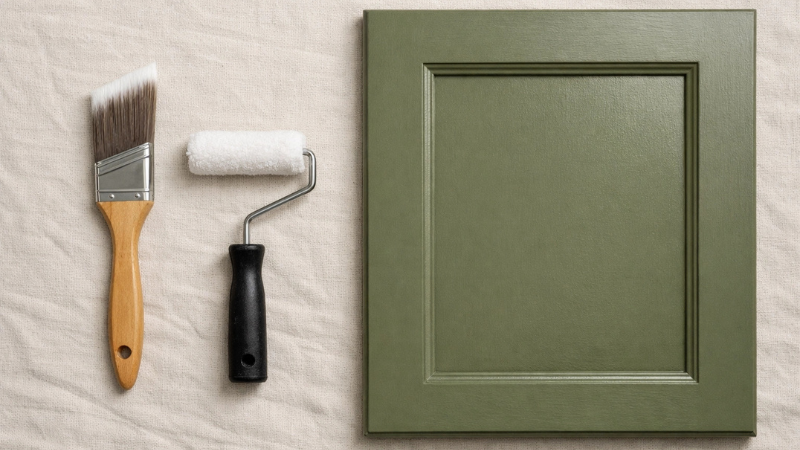
The Fix: Buy high-quality synthetic brushes (look for brands like Purdy or Wooster) and use high-density foam rollers or microfiber “mini” rollers. Foam rollers are excellent for achieving a smooth, spray-like finish on flat panels.
Pro Tip: Clean your brushes immediately after use. A well-maintained $20 brush can last you through dozens of upcycling projects.
Elevate Your Newly Painted Space
Once the hard work is done and your cabinets are back on their hinges, the fun part begins: styling! Your kitchen or bathroom is now a blank canvas.
If you went with a classic farmhouse white, consider adding some warmth with a farmhouse chicken barn canvas or some farmhouse animals wall art. These small touches make the space feel lived-in and cozy rather than just “new.”
If you opted for a bold, moody color like navy or forest green, lean into the texture. A textured stone wall art sculpture or a nature bird wall art with green moss detail can add an organic feel to the room.
Final Thoughts: You’ve Got This!
Painting cabinets is a big job, but it is one of the most rewarding DIY projects you can tackle. It saves you thousands of dollars compared to a full renovation and gives you a sense of pride every time you walk into the room.
The secret isn’t talent: it’s patience and preparation.
- Clean like your life depends on it.
- Sand to get that “tooth.”
- Remove that hardware.
- Use the right primer.
- Buy quality cabinet paint.
- Wait for the cure.
- Use pro-grade tools.
Follow these steps, avoid the common pitfalls, and you’ll have a professional-looking finish that lasts for years. Ready to get started? Head over to our shop to find more inspiration for your next DIY home decor project.
Happy painting!