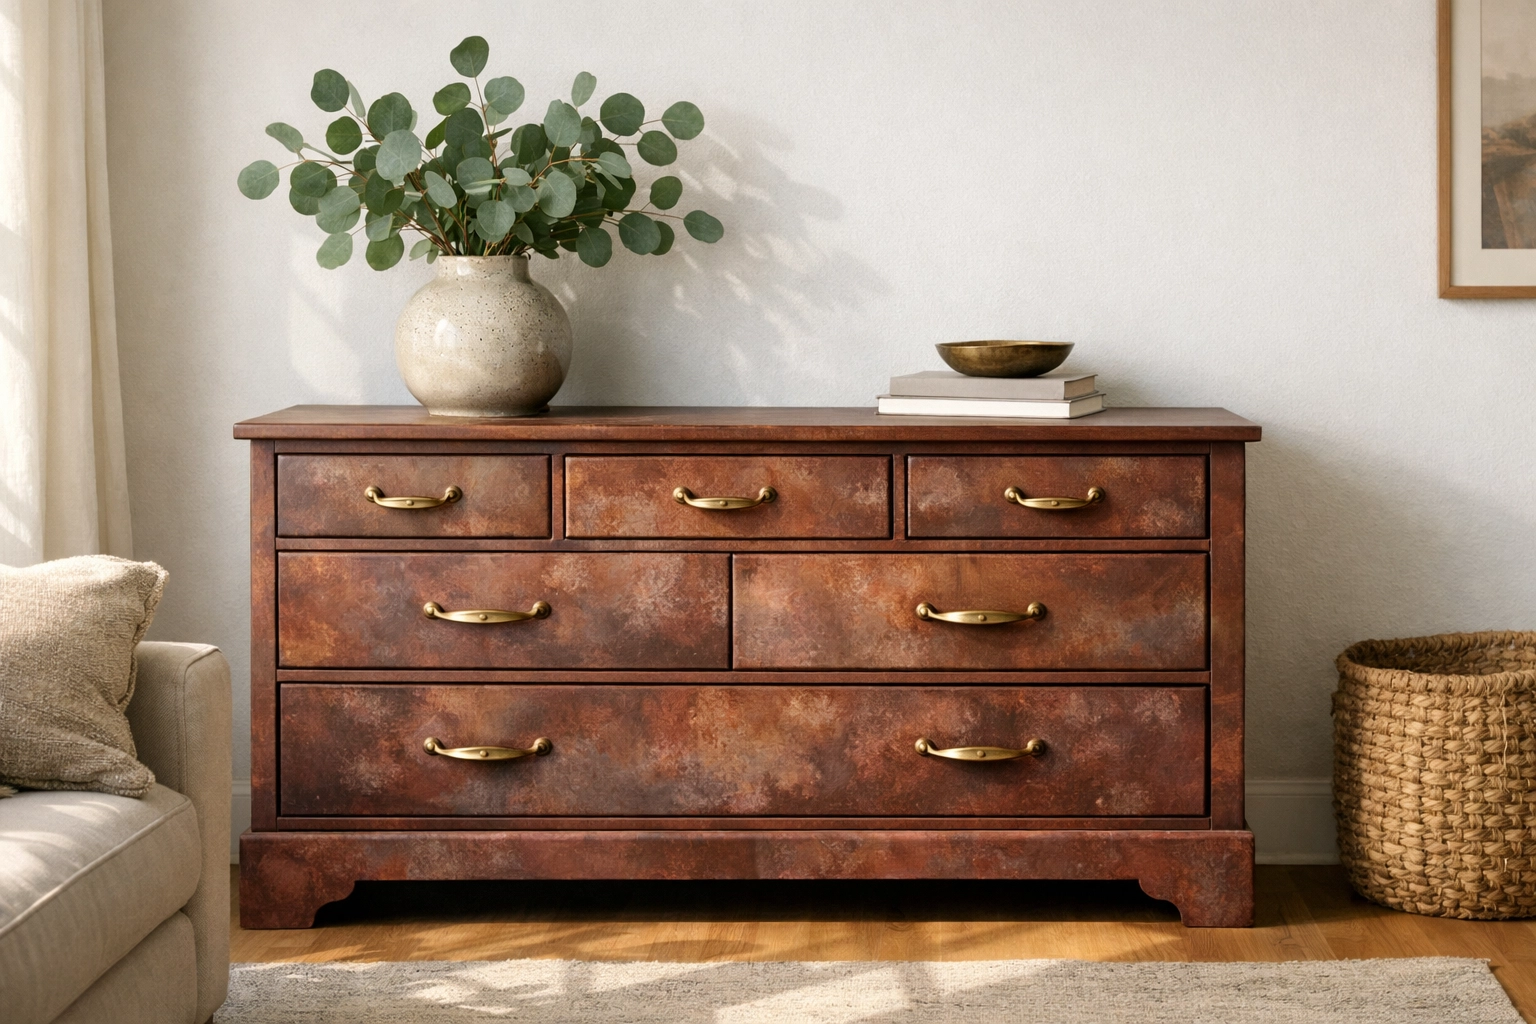
Let’s be honest: flat paint is boring. If you’ve been flipping furniture for more than five minutes, you know that the difference between a "DIY project" and a "high-end designer piece" usually comes down to one thing: texture.
Texture is what makes someone want to reach out and touch your work. It creates depth, hides imperfections, and tells a story of age and craftsmanship. But here is the secret: you don't need a decade of art school to achieve a professional, multi-dimensional look. You just need a few smart shortcuts.
Today, we are moving past basic brushstrokes. Whether you are aiming for a rustic farmhouse vibe or a sleek, European plaster finish, these five hacks will elevate your work from hobbyist to high-end.
1. The Additive Power: Creating "Physically Based" Depth
In the professional design world, artists use something called "PBR" (Physically Based Rendering) to make digital objects look real. They don't just look at color; they look at how light hits a surface. You can do the exact same thing with your furniture by using texture additives.
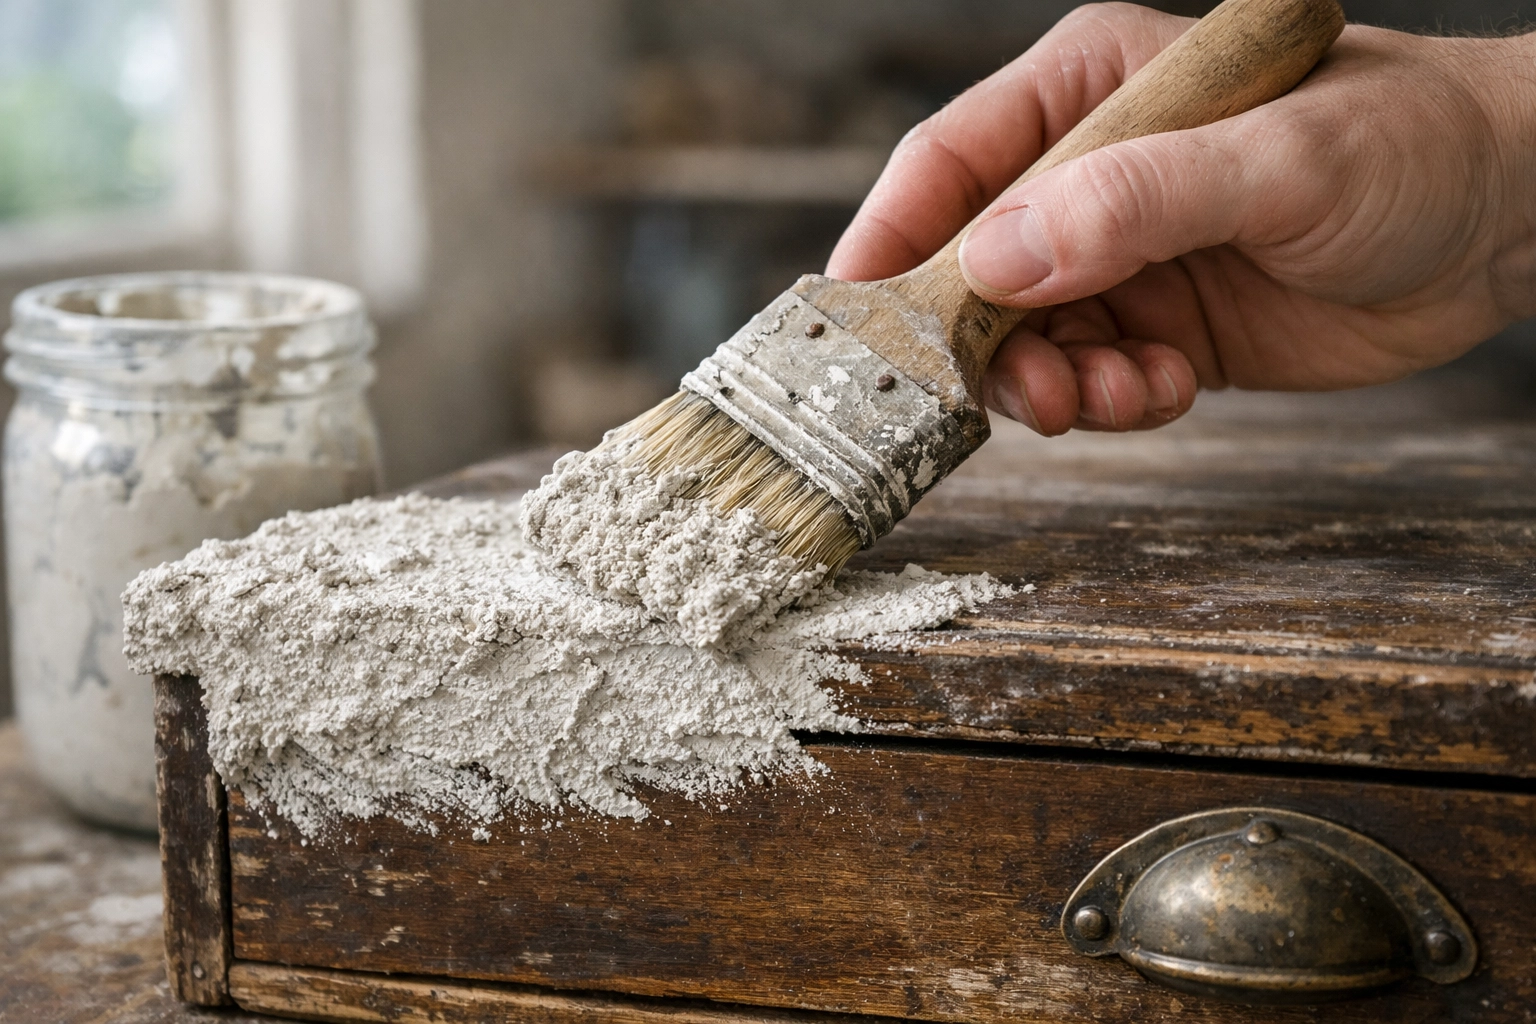
Stop settling for thin, watery paint. If you want a piece to look like hand-forged stone or aged plaster, you need to add "grit."
- Sea Salt or Texture Powder: Mix a spoonful of texture powder (or even fine sea salt) into your mineral paint.
- The Application: Use a "stippling" motion rather than long strokes. This creates tiny peaks and valleys on the surface.
- The Result: When you apply a dark wax or glaze later, those "valleys" catch the pigment, creating instant, authentic depth that looks like it took hours to create.
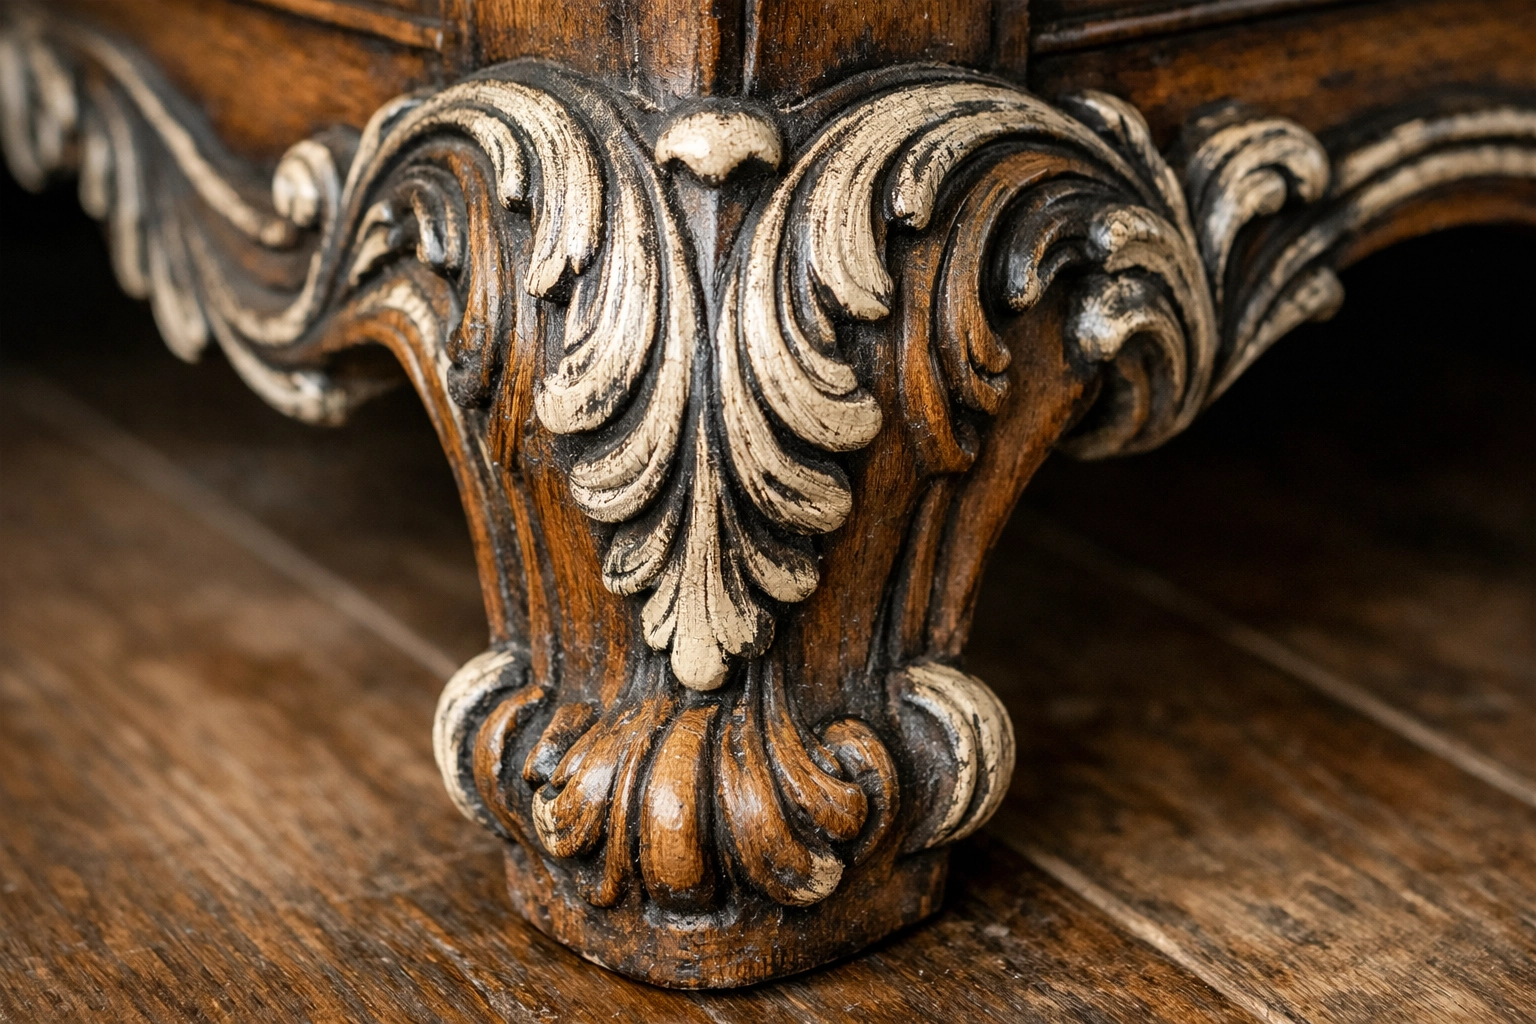
2. Master the "Scale" with Raised Stenciling
A common mistake in DIY is using patterns that are either too small or too repetitive. This breaks the illusion of a high-end piece. To get that designer look, you need to think about scale and dimension.
Raised stenciling: also known as embossing: is your best friend here. Instead of just painting through a stencil, you use a heavy-body paste or even wood filler.
- Go Big: Choose a large-scale architectural pattern for drawer fronts or side panels.
- The Tool: Use a palette knife to spread your medium over the stencil.
- The Pro Tip: Don't aim for perfection. A few skips or uneven edges actually make the piece look like an authentic hand-carved antique rather than a mass-produced plastic item.
If you are just starting out and aren't sure which palette knives or pastes to grab, check out our guide on the best tools for beginner furniture flippers. Having the right gear makes this process ten times faster.
3. Layering for Realism: The 3-Color Rule
High-end texture isn't just about how a piece feels; it’s about how it looks. If you look at an old, expensive piece of European furniture, you’ll notice it’s never just one color. It has a base color, a shadow color, and a highlight color.
Think of this as your "physical PBR map."
- The Base Coat: Apply your main color (the "albedo") across the whole piece.
- The Shadow Layer: Use a darker shade in the corners, crevices, and around hardware. This mimics "occlusion": the way dirt and shadows naturally build up over decades.
- The Highlight Layer: Take a very light version of your base color and "dry brush" it only on the highest points of the texture.
This contrast creates a visual vibration that makes the texture pop. It’s a simple system that guarantees a fabulous result every single time.
4. Seamless Blending: Eliminating the "DIY" Edge
Nothing screams "I painted this in my garage" like visible brush marks or harsh lines where one color ends and another begins. Professional-grade texture looks seamless. It should feel like the finish grew out of the wood itself.
To achieve this, you need to master the art of the damp blend.
- Keep a Mist Bottle Handy: A fine mist of water keeps your paint "open" longer, allowing you to move it around.
- Use Natural Bristle Brushes: These are better for holding moisture and creating soft, blurred edges.
- Work in Sections: Don't try to blend the whole dresser at once. Finish one drawer or one side panel completely before moving on.
If you struggle with your paint drying too fast or looking "streaky," it might be your prep work. Make sure you're following our beginner furniture prep checklist to ensure your surface is ready to grab that paint and hold it smoothly.
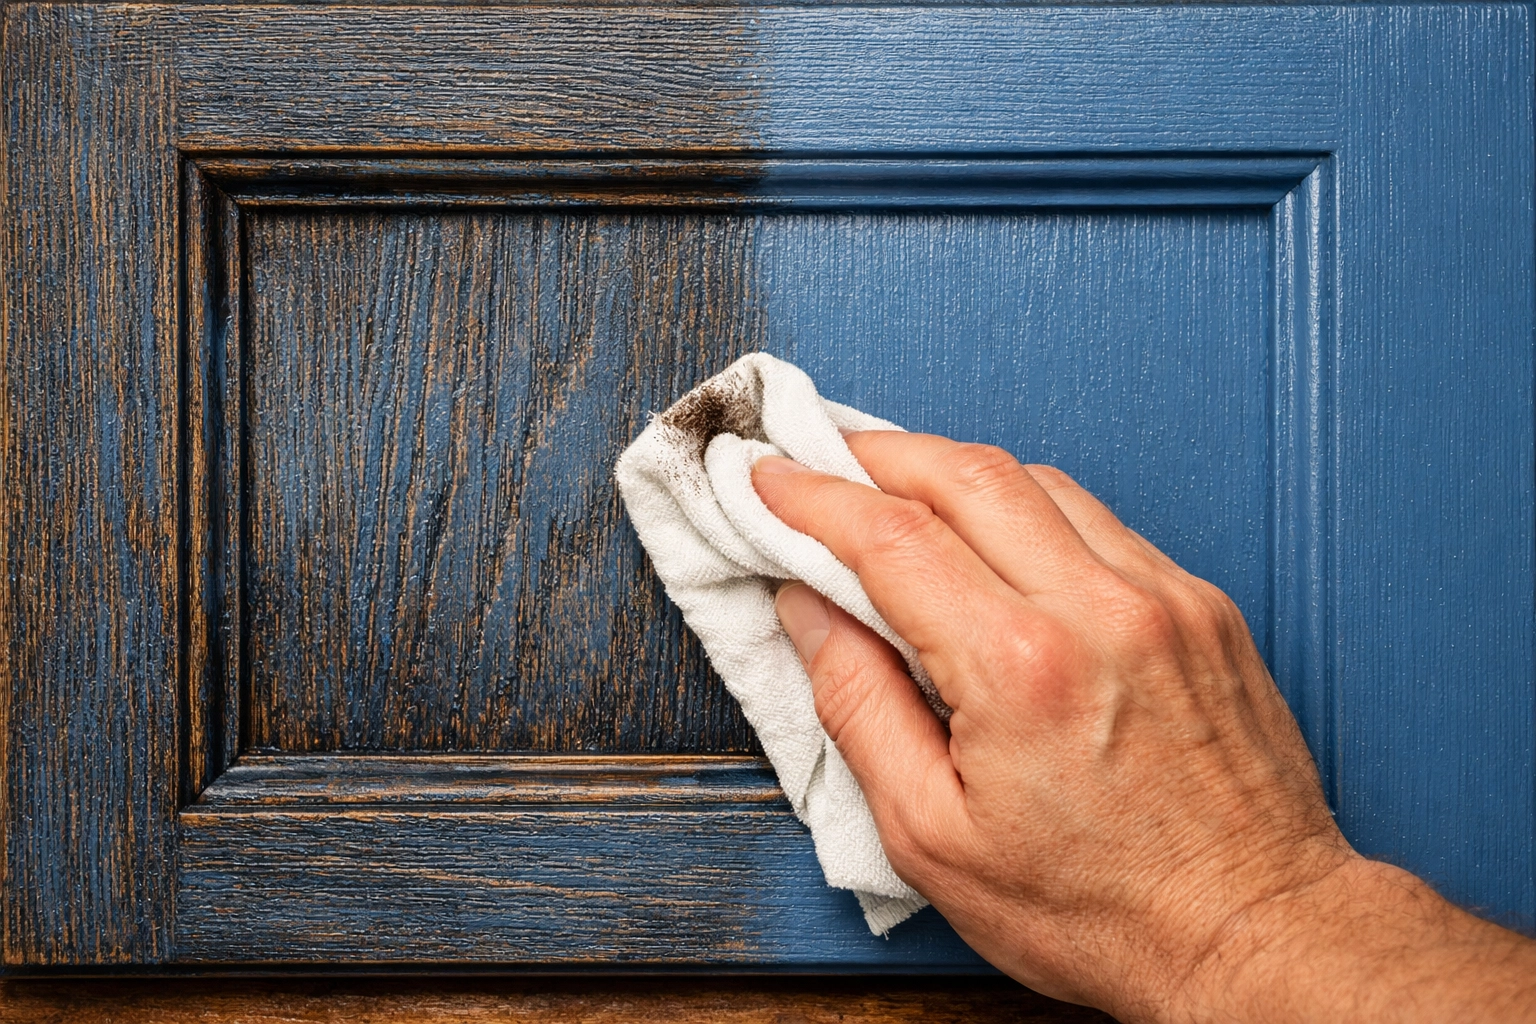
5. Selective Post-Processing: The Wax and Wipe
In the digital world, "post-processing" is where the magic happens: adjusting contrast, adding "noise," and sharpening details. In furniture flipping, your post-processing is your topcoat.
Flat paint absorbs light. High-end finishes interact with light.
- The Dark Wax Trick: Apply a clear wax first (this is your "primer"). Then, brush on a dark brown or black wax. Immediately wipe it back with a lint-free cloth.
- Targeted Distressing: Use a fine-grit sandpaper to selectively remove paint from high-traffic areas like corners and edges. This adds "authentic imperfections" that tell a story.
- Sheen Control: Use a high-gloss sealer on the very top of a dresser but a matte wax on the sides. This variation in sheen makes the piece look much more expensive than a uniform, flat finish.
Why Texture Is Your Most Profitable Skill
If you are flipping furniture for profit, time is money. You might think that adding these steps takes too long, but here is the truth: a textured, "designer-look" piece can often sell for double the price of a flat-painted piece.
People aren't just buying a place to put their clothes; they are buying a "vibe." They want a piece that looks like it was plucked out of an old French villa or a high-end boutique in New York.
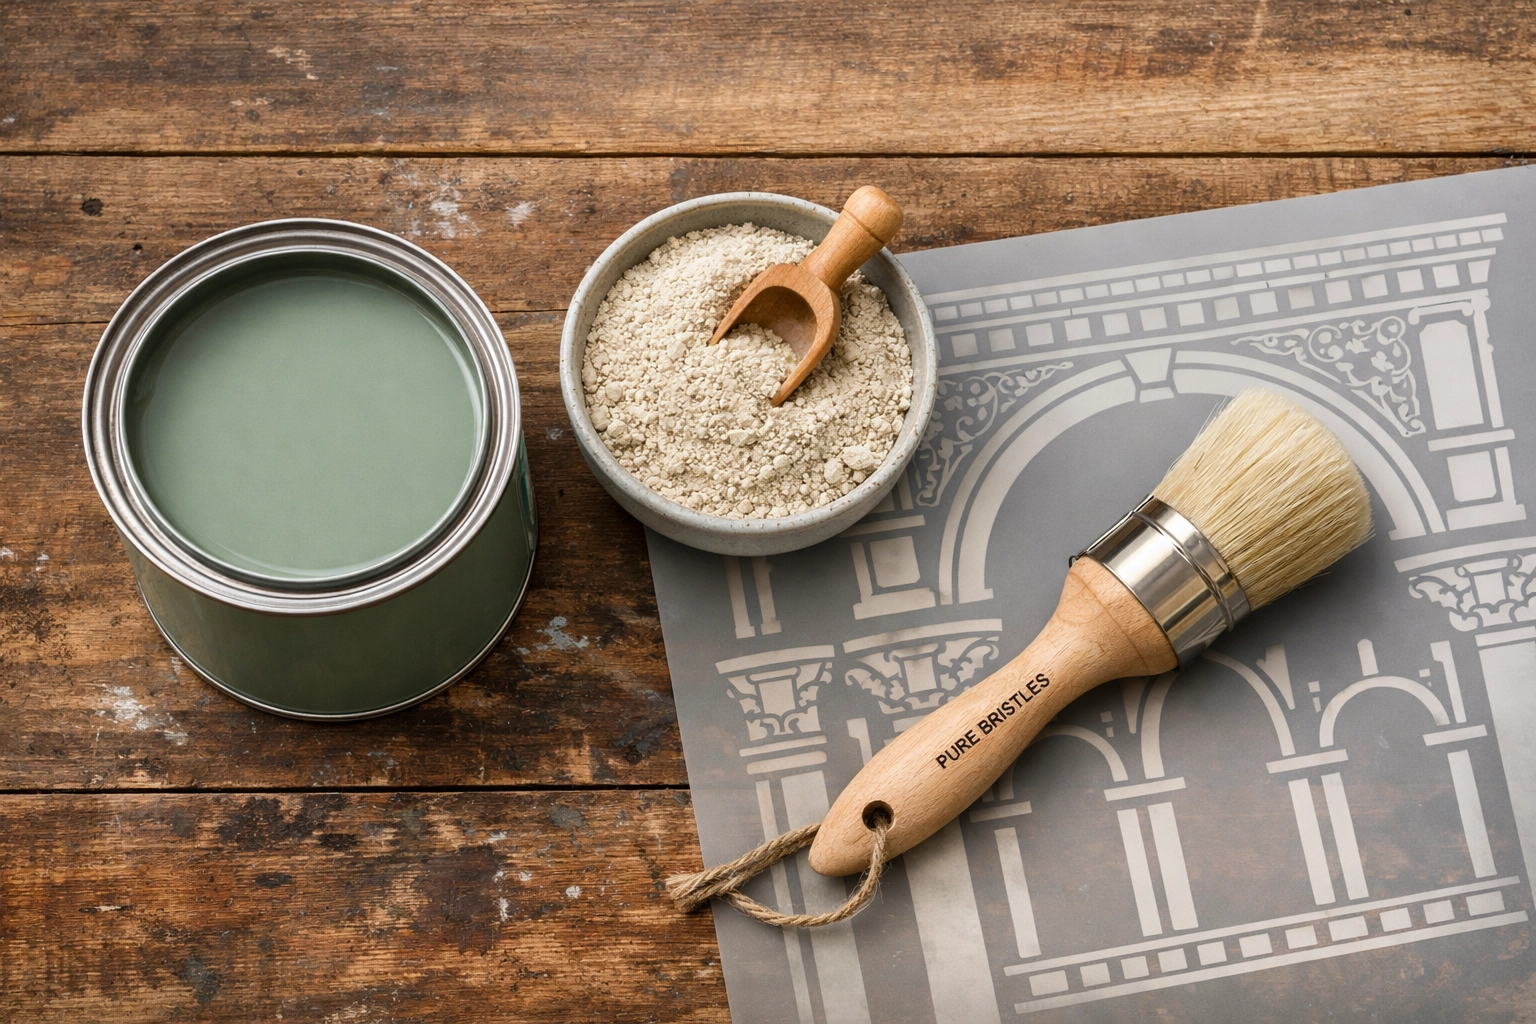
Get the Right Starter Kit
Don't go out and buy every single product on the market. Start with the basics:
- A good quality mineral paint.
- A bag of texture powder.
- One large-scale stencil.
- Clear and dark wax.
You can find all of these and my personal favorites over at our recommended tools page.
Final Thoughts: Don't Overthink It
The biggest barrier to entry for most DIYers is the fear of "messing up." But here is the beauty of texture: it is incredibly forgiving. If you add too much grit, you can sand it down. If your stencil is a bit crooked, you can call it "artistic character."
The "The Crafty Renewal" way is all about practical, real-world experience. We don't aim for museum perfection; we aim for pieces that look incredible in a real home and feel like they have a soul.
Ready to start your next project?
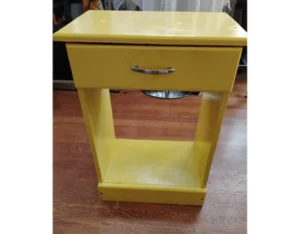
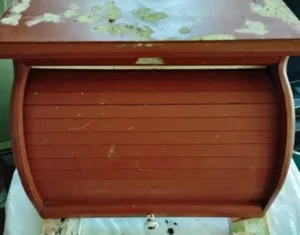
- Step 1: Grab a "blah" piece of furniture from a thrift store.
- Step 2: Follow the prep checklist.
- Step 3: Pick one of the five hacks above and try it out.
You’ll be amazed at how quickly your "hobby" starts looking like a professional business. For more inspiration and deep dives into specific finishes, head over to our full blog and browse our latest projects.
Happy painting! You've got this.