
You just spent three days laboring over a vintage dresser. You picked the perfect shade of sage green, carefully applied three coats of paint, and it looks like a million bucks. But then, it happens. You slide a ceramic lamp onto the top, and, scritch, a long, jagged line appears, revealing the old wood underneath.
Heartbreaking, right?
When it comes to furniture flipping for beginners, the “scratch test” is the ultimate hurdle. If your paint isn’t sticking, your hard work isn’t going to last. But here is the good news: you don’t need a degree in chemistry or a professional spray booth to get a durable finish. You just need to understand one simple trick and a few foundational rules of diy furniture refinishing.
In this guide, I’m going to show you the secret to making your painted pieces as tough as nails. Let’s dive in.
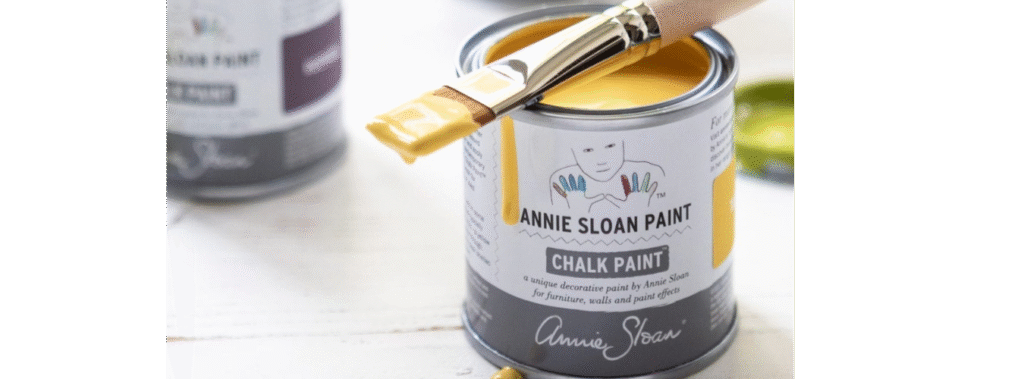
The Secret Weapon: Bonding Primer
If you want to know the simple trick to prevent scratches right now, here it is: Stop painting directly onto slick surfaces and start using a bonding primer.
Most modern furniture, and even many vintage pieces, has a factory finish. This might be a high-gloss lacquer, a heavy poly, or even laminate. These surfaces are designed to repel things. That includes your beautiful new paint. If you paint directly onto a glossy surface, the paint essentially “sits” on top rather than “biting” into the material.
A bonding primer is a specialized product designed to act as the glue between a difficult surface and your topcoat. It is formulated to stick to glass, tile, laminate, and high-gloss wood. By applying one thin, even coat of bonding primer, you create a “toothy” surface that your paint can actually grab onto.
Why Prep is Non-Negotiable
While the bonding primer is the star of the show, it can’t do its job if the surface is dirty. This is where many beginners go wrong. They see a “no-sand” paint and assume they can skip the prep. Don’t fall for it.
Start with a Deep Clean
Furniture lives a long life. Over the years, it accumulates skin oils, furniture polish (the worst enemy of paint!), dust, and grime. If you paint over oil or wax, your paint will peel off in sheets the second it gets bumped.
- Use a Degreaser: Use a dedicated cleaner like TSP-Substitute or even a simple mix of Dawn dish soap and water.
- Scrub Thoroughly: Use a green scrubby pad to get into the grain.
- Rinse: Wipe it down with clean water to ensure no soap residue is left behind.
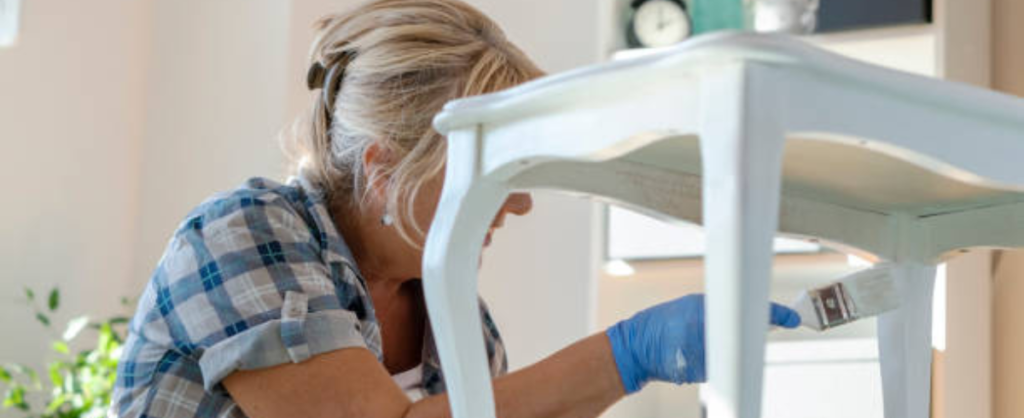
The Scuff Sand Blueprint
You don’t need to sand the piece down to raw wood. We call this “scuff sanding.” The goal is simply to take the shine off.
- Get 220-grit Sandpaper: This is fine enough to not leave deep scratches but coarse enough to dull the finish.
- Follow the Grain: Lightly rub the sandpaper over the entire surface.
- Track Your Progress: The surface should look hazy or matte when you’re done.
Once you’ve cleaned and scuffed, then you apply your bonding primer. This combination is the ultimate insurance policy against scratches.
The 30-Day Curing Rule (The Most Important Step)
Here is the “trick” that most people hate to hear, but it’s the most effective way to prevent scratches: Understand the difference between “dry” and “cured.”
When you touch your paint an hour after applying it, it feels dry. You might even be able to put a second coat on. However, the paint is still full of moisture and solvents. It is “soft.”
Most water-based paints and topcoats take 21 to 30 days to fully cure. Curing is the chemical process where the paint reaches its maximum hardness. During those first few weeks, your furniture is at its most vulnerable.
How to Handle Your Furniture During Curing
- Wait 24 Hours: Don’t put anything on the piece for at least a full day.
- Use Coasters: If you must put a lamp or a vase on it, place felt pads or a coaster underneath.
- Don’t Drag: Never slide items across the surface. Lift them up and set them down gently.
- Skip the Cleaning: Don’t use household cleaners on the piece for at least a month.
If you treat your piece like a delicate flower for the first 30 days, it will reward you by being rock-solid for the next 30 years.

Selecting the Right Top Coat
Sometimes the paint itself isn’t enough. If you’re working on a high-traffic piece, like a dining table or a desk, you need an extra layer of protection. At The Crafty Renewal, we love pieces that are both beautiful and functional, like this Olive Green End Table. Notice the smooth, durable finish? That comes from choosing the right top coat.
Water-Based Polyurethane
This is the gold standard for durability. It’s easy to apply, dries fast, and provides a hard plastic-like shell.
- Pros: Highly scratch-resistant, water-resistant, and clear.
- Cons: Can sometimes streak if not applied with a high-quality brush or sponge.
Wax
Wax provides a gorgeous, buttery feel and a matte finish. It’s perfect for decorative pieces or items that won’t see much action.
- Pros: Easy to touch up, looks professional.
- Cons: Not very scratch-resistant and needs to be reapplied every year or two.
Hemp Oil or Finishing Oil
Oils soak into the paint and harden. This is a great eco-friendly option.
- Pros: No fumes, very natural look.
- Cons: Needs a long time to cure and isn’t as “tough” as poly.
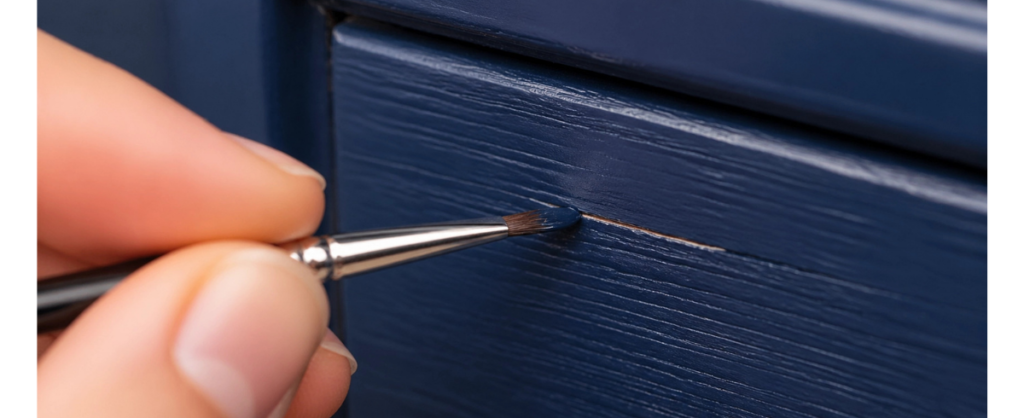
Troubleshooting: What If It Already Scratched?
Don’t panic! Even in professional diy furniture refinishing, mistakes happen. If you find a scratch on your piece, follow this quick fix:
- Clean the Area: Ensure there’s no dust.
- Lightly Sand: Use a tiny piece of 220-grit sandpaper to smooth the edges of the scratch.
- Dab with Paint: Use an artist’s brush to fill the scratch with your original paint.
- Seal it Again: Once the paint is dry, dab a bit of your top coat over the fix.
A Beginner’s System for Success
To make sure your next project is a winner, follow this step-by-step checklist:
- Clean: Remove all grease and wax with a degreaser.
- Scuff: Lightly sand with 220-grit sandpaper until the shine is gone.
- Prime: Apply a high-quality bonding primer (especially on slick surfaces).
- Paint: Apply thin, even coats, allowing proper dry time between each.
- Protect: Apply 2-3 coats of a water-based poly for high-traffic areas.
- Wait: Observe the 30-day cure time before putting the piece into heavy use.
Final Pro Tips for Durability
If you want to go the extra mile, consider these small additions that make a big difference. For instance, if you’re displaying something like our Small Collection Storage Box on a painted shelf, add felt dots to the bottom of the box. These tiny, inexpensive stickers prevent the “friction” that causes micro-scratches over time.
Also, consider the environment. High humidity can slow down your drying and curing times significantly. If you’re working in a basement or a garage during a rainy week, give your paint an extra day or two between coats.
Conclusion
Preventing scratches on painted furniture isn’t about magic: it’s about the prep and the patience. By using a bonding primer and allowing your piece the full 30 days to cure, you’re moving from a “hobbyist” level to a “pro” level in your furniture flipping for beginners journey.
Ready to start your next project? Browse our shop for inspiration, or check out our unique Nature Bird Wall Art to find the perfect accent for your newly painted room.
You’ve got the tools and the knowledge. Now, go grab that brush and create something fabulous! For more tips and tricks from me, Tracy, head over to my author page. Happy flipping!