Happy Friday, friends!
Welcome to the very first edition of Thrifty Flip Friday! Every Friday, I’m sharing a quick, budget-friendly transformation of a thrifted find to give you fresh inspiration for your weekend DIYs.
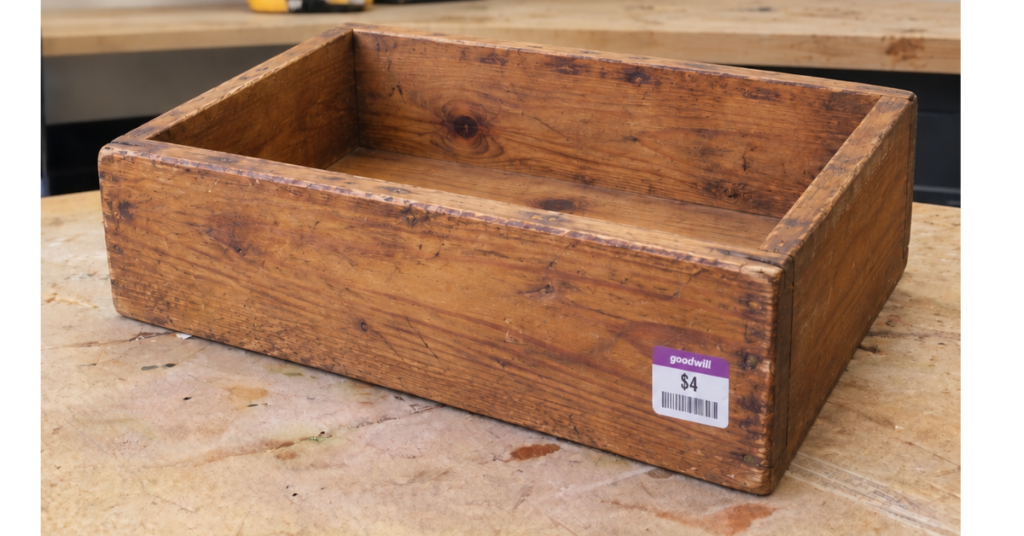
You don’t need a huge budget or days of free time to create beautiful pieces for your home. Today, I’m taking a dated, orange-stained wooden box I found at Goodwill for just $4 and turning it into a chic modern farmhouse storage piece.
Let’s dive into the makeover!
The “Before” ($4 Goodwill Find)
While browsing the thrift shelves, I spotted this little wooden box hiding behind old picture frames.
- The Good: It was made of 100% solid pine with clean lines and sturdy joints.
- The Dated: An 1990s orange-amber box that felt tired and dark.
At only $4, it had great bones and was the perfect size to elevate kitchen counter decor, hold a small plant, or style on a bathroom vanity.
Supplies Used:
- Heavy-duty degreasing cleaner (Dawn dish soap + warm water)
- 150-grit sanding sponge & 220-grit finishing paper
- Barn red furniture paint (chalk or mineral paint
- Clear furniture wax & dark aging wax (optional for subtle distressing)
- Lint-free wax cloth
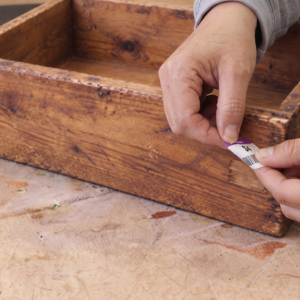
Remove all stickers, you may need to use a hot gun or blow dryer.
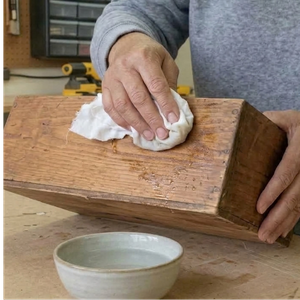
Never paint over thrift store grime! Old pieces collect dust, grease, and years of furniture polish.
I gave the box a good scrub with warm soapy water and dried it thoroughly.
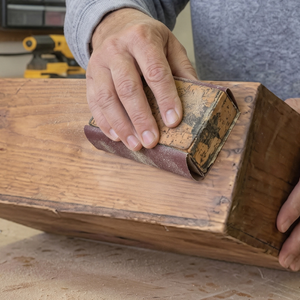
Next, I did a 2-minute scuff sand with 150-grit sandpaper just to take down the high-gloss shine. This creates tiny micro-grooves so the paint can bond securely.
Wiped away the sanding dust with a damp cloth.
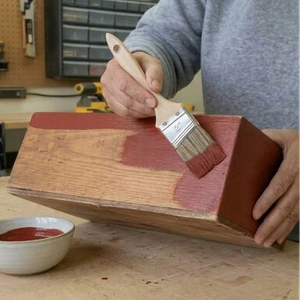
To soften the warm orange wood, I chose the vintage look of barn red furniture paint.
Coat 1: Applied a very thin, even coat. Don’t worry if the first coat looks streaky—thin coats dry faster and eliminate brush marks!
Coat 2: After 45 minutes of dry time, I applied a smooth second coat for full coverage.
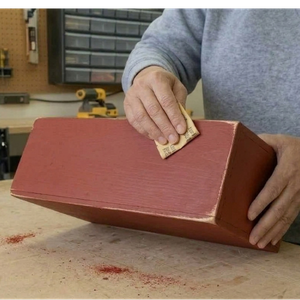
Once the paint was completely dry, I wanted to bring out the handmade character:
I lightly ran 220-grit sandpaper along the edges and corners to let tiny hints of the natural wood peek through.
To protect the surface from moisture, I applied a thin coat of clear furniture wax with a soft cloth and buffed it to a satin sheen.
(Optional touch): A tiny dab of dark wax around the corners added instant vintage depth!
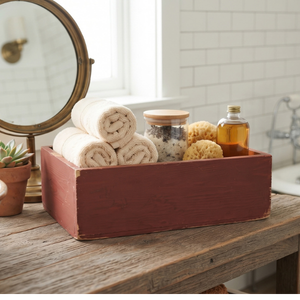
From a forgotten $4 orange box to a high-end farmhouse storage box with a small amber glass bottle, faux eucalyptus, towels, and a scented candle.
This entire project took less than 1 hour of hands-on time and cost under $6 total in supplies!
🛠️ Ready to Tackle Your First Thrift Flip?
Never wonder what supplies to buy or how to prep wood again! Grab our Beginner Furniture Flip Starter Kit ($9) for instant access to our printable supply checklists, paint prep framework, and project planning sheets.
👉 Download The Beginner Starter Kit for $9 →
Try This, This Weekend!
Next time you’re at the thrift store, look past dated finishes and search for simple solid wood shapes.
What small thrift items are you planning to flip this weekend? Let me know in the comments below!