Upcycling furniture has become a creative and sustainable way to refresh living spaces. Enthusiasts transform old, worn-out items into unique and stunning pieces that reflect personal style. But like any project, upcycling comes with its challenges.
Many individuals begin upcycling projects without knowing the common pitfalls, leading to frustration and sometimes wasted efforts. By understanding these common mistakes, you can save time, money, and effort, ensuring that your creative endeavors lead to success rather than setbacks.
Embracing this art not only revitalizes old furniture but also nurtures an eco-friendly lifestyle. However, to truly enjoy the process and the outcome, it’s important to be aware of potential missteps.
Whether you’re a seasoned DIYer or a newcomer to the craft, this guide will walk you through some typical errors and how to steer clear of them. Let’s explore these insights to ensure your projects stand out and reflect your creativity without a hitch.
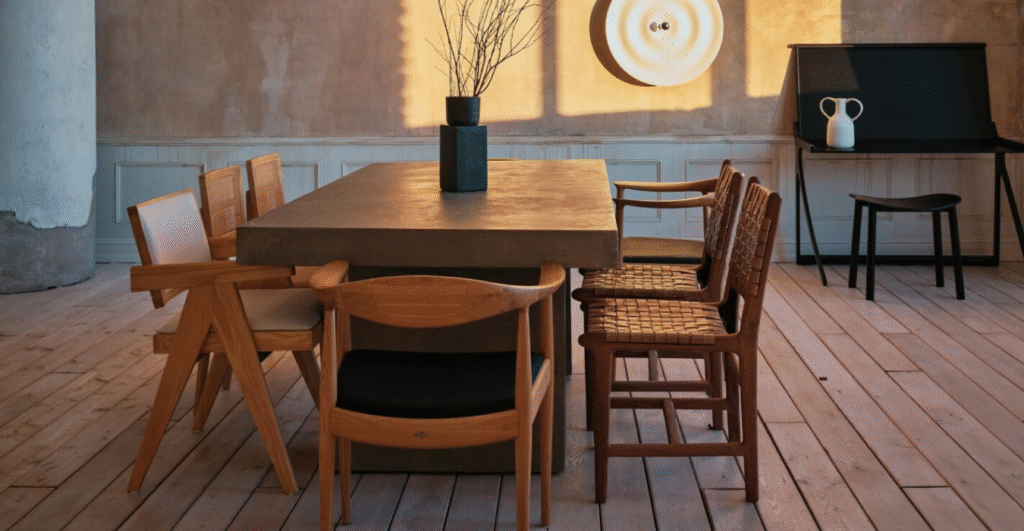
Choosing the Wrong Furniture Pieces
One of the first challenges in upcycling is picking the right furniture to transform. Not every piece you find at a thrift store or in your basement is a good candidate for upcycling. Selecting a weak or damaged item can result in a project that doesn’t last or doesn’t look as good as you’d hoped.
Common issues arise when enthusiasts pick furniture without considering its current state or suitability for upcycling:
– Ignoring Structural Integrity: Items that wobble, have loose joints, or are infested with pests can lead to frustration. Keep an eye out for solid wood pieces, as they often offer durability and longevity.
– Overlooking Size and Function: Consider the space where the finished piece will reside. Furniture that is too large or doesn’t have a practical use might end up stored away rather than enjoyed.
– Materials Mismatch: Not all materials are suitable for upcycling into certain styles or functional items. Avoid pieces that require excessive work or materials to fit your vision.
To avoid these issues, take the time to inspect potential pieces thoroughly. Check for good quality frames and materials, envision how the piece will fit into your space, and ensure it serves a practical function. Doing so will help you choose items that not only look good now but will also look fantastic after the upcycle is complete.
Skipping the Preparation Stage
It’s tempting to jump straight into painting and decorating, but preparation is a step you absolutely can’t skip. Without proper prep work, even the most exciting upcycle ideas can fall short of their potential.
Here’s a simple plan:
1. Clean Thoroughly: Remove all dust, dirt, and old polish. A clean surface ensures that paints and adhesives will stick properly.
2. Sanding: Lightly sand the entire piece to create a better surface for painting or varnishing. This helps remove any existing surface layers that might cause peeling or uneven finishes.
3. Inspect for Repairs: Check for any necessary fixes, such as loose screws or small holes. Addressing these before painting or revamping will lead to a more stable final product.
4. Use a Primer: Apply a primer suited for the material of your furniture. This step maximizes paint adhesion and helps in achieving the desired finish with fewer coats.
Each step might feel time-consuming, but skipping prep can lead to more significant challenges down the line. A little extra time at the beginning prevents peeling paints, uneven textures, and a less-than-perfect finish. Remember, proper preparation lays the foundation for success, so make sure to invest time and effort to set your project up right from the start.
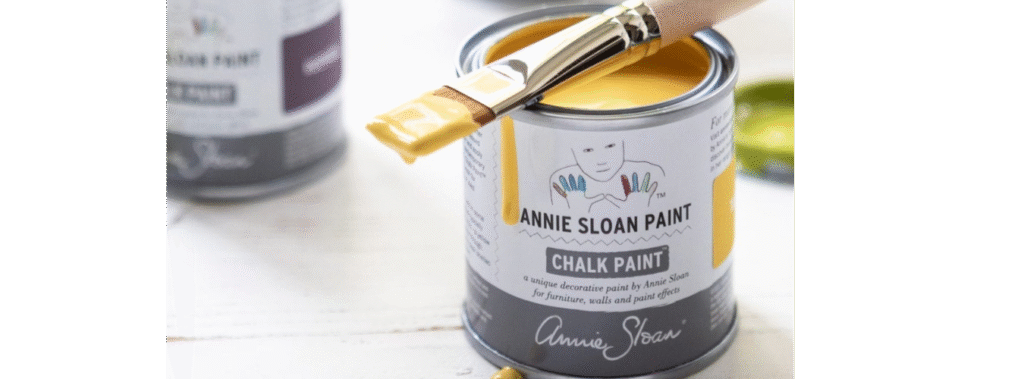
Using the Wrong Materials and Tools
The right materials and tools can make all the difference in the final look and durability of your upcycled furniture. One common mistake is choosing paints, brushes, or other supplies that aren’t suited for the type of furniture you’re working with. This can result in finishes that peel, surfaces that scratch easily, or colors that don’t turn out as expected.
To make sure you’re on the right track, here are some things to keep in mind:
1. Select Quality Paints: For wood pieces, use paint specifically made for furniture. Look for durable, long-lasting finishes that can withstand wear and tear.
2. Invest in Good Brushes: A high-quality brush or roller ensures an even coat and helps avoid streaks and bubbles. It’s worth spending a bit more for a tool that will provide a smooth finish.
3. Appropriate Adhesives and Sealants: Depending on the materials you’re working with, choose adhesives and sealants made for those specific materials to ensure they bond well.
4. Right Tools for the Job: Whether it’s an electric sander or a simple screwdriver, using the proper tools ensures precision and saves time.
Using suitable materials and tools not only enhances the visual appeal of your project but also ensures its longevity. It’s always better to invest a bit more upfront to achieve a result that lasts.
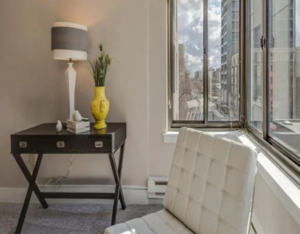
Ignoring Design and Functionality
A true masterpiece in upcycling deftly balances design with how the piece is used in everyday life. It’s tempting to go all-in on creativity, crafting something that looks great but doesn’t serve its intended purpose or fit well into your space. Consider both form and function to ensure the final product is as practical as it is beautiful.
When tackling design, keep these points in mind:
– Space Consideration: Ensure the piece fits well in its intended spot without crowding other furniture.
– Practicality: A beautifully upcycled desk won’t mean much if there’s no room to sit comfortably or store your essentials.
– Cohesive Style: Ensure the design aligns with the existing decor to create a harmonious look.
An example of this balance might be transforming an old ladder into a chic bookshelf. While it brings a unique touch to the room, it also serves the functional purpose of display and storage. When starting your own projects, always remember that design serves not just an aesthetic role but a functional one too.
Neglecting Finishing Touches
The finishing touches can make or break an upcycled furniture project. Small details at the end often get overlooked, yet they play an important role in ensuring that a piece is both complete and lasting. Sealing, polishing, or weatherproofing can protect your piece from the elements or the wear and tear of daily use.
Here’s a quick checklist to guide you:
1. Apply a Sealant: After painting, seal the piece to protect the surface. Choose a sealant appropriate for indoor or outdoor use, depending on where you’ll place the furniture.
2. Hardware Inspection: Check any knobs, handles, or hinges to make sure they are secured tightly and match the style of the piece.
3. Final Polish: Buff surfaces gently to give a smooth finish and remove dust or small imperfections.
By investing time in these finishing touches, you lock in all the hard work from the previous stages and ensure your furniture can be enjoyed for years.
Ready to Upcycle
As you enter the satisfying world of upcycling, remembering these common missteps can keep your projects on track. The key is to approach each piece with a clear vision, right from choosing suitable furniture to ensuring every small detail is attended to. Consider how upcycling contributes to a more sustainable and personalized living space.
By focusing on these elements, you’re not just creating beautiful pieces; you’re also continuing the cycle of giving new life to old items while reducing waste. Each project brings with it the opportunity to learn, grow, and enhance your home in a way that’s both eco-friendly and uniquely your own.
Ready to bring eco-friendly creativity to your home with expertly upcycled furniture? Partner with The Crafty Renewal, your local experts in crafting distinctive pieces that merge sustainability with style.
Discover an array of upcycled treasures and explore our selection of custom home decor projects that are designed to inspire and elevate your space. Let your next project not only be a testament to your creativity but also a step towards a more sustainable lifestyle.