Imagine transforming your living space into a charming cottage haven. One simple yet effective addition is a wood shelf with hooks. This project not only adds a rustic aesthetic but also offers practical storage. Picture hanging mugs, hats, or cozy scarves in an easy-to-reach spot, making your home feel warm and inviting. If you live in New England, this project perfectly complements the summer vibe, offering a refreshing update as the season heats up.
The allure of a wood shelf with hooks goes beyond its decorative aspect. It embodies a blend of functionality with an inviting appeal. These shelves serve as an ideal solution to declutter spaces, providing an organized zone where essentials can be neatly arranged. The natural wooden finish harmonizes with various home decor styles, bringing a touch of nature inside. Plus, the additional hooks offer versatile opportunities for creative expression, allowing you to personalize the look. Perfect for giving a welcoming cottage feel, these shelves become a handy and stylish addition that everyone can appreciate.
Materials and Tools Needed
Getting started on your DIY wood shelf project requires gathering a few materials and tools. Here’s a list to ensure you have everything ready:
– Materials:
– Wood planks for the main shelf
– Hooks for hanging items
– Nails or screws to secure everything
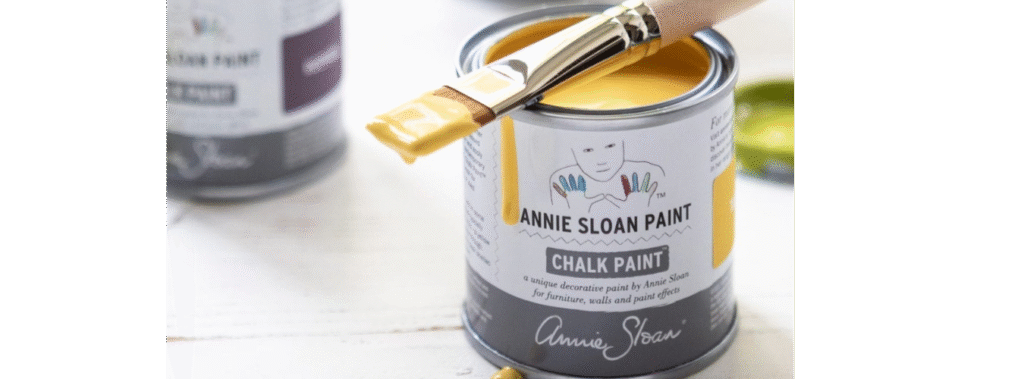
– Wood stain or paint for finishing
– Essential Tools:
– Saw for cutting the wood to size
– Drill for making precise holes
– Screwdriver for assembling the pieces
– Measuring tape to ensure accuracy
– Sandpaper to smooth the surfaces
– Safety Equipment:
– Gloves to protect your hands
– Goggles to keep your eyes safe from dust
Having these items ensures you can address each step of the project efficiently. The wood planks form the base, while the hooks provide functionality. Tools like the saw and drill help shape the project, and a screwdriver aids in putting it all together. Paint or stain introduces a customized finish, bringing out the rustic charm needed to enhance that cozy cottage feel. Remember, using safety equipment is key for a successful and hazard-free experience. With these materials ready, you’re set to create a beautiful, functional shelf that enhances your home’s aesthetic.
Preparing the Wood
Now that you’ve got your materials and tools ready, it’s time to prep the wood. Start by measuring the wood planks to match your desired shelf length. Using a measuring tape, mark where you’ll cut each plank. Once marked, carefully use the saw to cut the planks to size. An even cut will help ensure a neat final assembly.
After cutting, the wood needs to be sanded down for a smooth finish. Take your sandpaper and gently rub along the surfaces and edges of each plank. This step not only prevents splinters but also prepares the wood for painting or staining. Once sanded, wipe the dust away with a damp cloth and let the wood dry completely.
Deciding between painting or staining your shelf can depend on the look you want to achieve. For a more natural, rustic vibe, a wood stain will bring out the grain and give a warm finish. Alternatively, painting offers a wider variety of colors to match your home’s theme. Whether you choose stain or paint, apply evenly and allow it to dry according to the product instructions for the best results.
Assembling the Shelf
Once your wood is prepped and ready, you can move on to assembling your shelf. You’ll begin by laying the planks flat on the ground or a work table. Use the measuring tape again to ensure that everything is aligned front and back. This step is important for a steady and straight shelf.
Once aligned, start securing the planks together by drilling small pilot holes where the connections will be. This prevents the wood from splitting. Use screws or nails to attach the parts firmly. If you’re using nails, a hammer should do the job, but if screws are your choice, a screwdriver will ensure a tighter fit.
Make sure the parts are firmly joined, checking for stability and balance. The assembled shelf should stay steady when you gently push it. If anything seems loose, tighten up the connections to keep the structure safe for hanging on the wall.
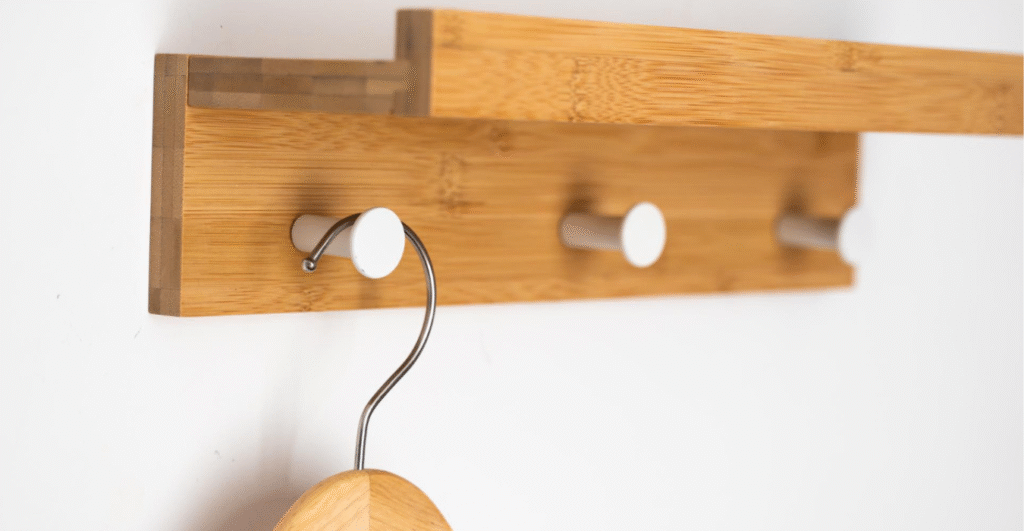
Adding the Hooks
With the shelf assembled, it’s time to add the hooks. Place the shelf face-down so you can see where your hooks will be positioned. Determine the spacing that suits both function and aesthetics. A common approach is to place hooks evenly apart along the bottom edge. Use a pencil to mark where each hook will go, taking care to ensure they are level and evenly spaced.
Drill small pilot holes at your marks to make screwing the hooks in easier. This helps avoid splitting the wood and makes for a smoother installation. Gently screw in each hook by hand or with a screwdriver, ensuring they sit flush against the wood.
Feel free to get creative with placement. Hooks can also be mounted at the sides for additional hanging options. This creative flexibility allows you to customize your shelf to better meet your needs, adding a personal touch.
Final Touches and Installation
Once your hooks are in place, it’s time to think about the finishing touches and installation. Adding items like small planters or rustic signs to the shelf can elevate its charm and cottage feel. These decorative accents make the shelf a focal point in any room.
For installation, find a suitable location on your wall. Make sure it’s not only aesthetically pleasing but also sturdy enough to support the weight of the shelf. Use a level to ensure the shelf will sit straight, then mark the wall at the desired height.
Drill into the wall for your anchors, and then mount the shelf securely using screws. Check for firmness by gently tugging on the shelf. Once installed, you can arrange items on the shelf in a way that enhances its inviting appeal and serves your practical needs.
Enjoying Your Cozy Cottage Shelf
Now that you’ve successfully added this charming piece to your home, it’s time to sit back and enjoy it. This wood shelf with hooks captures that cozy cottage touch while offering practical storage solutions for your living space. Each element can be uniquely yours, from the color of the stain to the items you choose to display.
The beauty of this project is found in its adaptability to your personal style. Feel encouraged to try more creative endeavors, building on this experience to add warmth and character to your home. Whether it’s displaying beautiful pottery or hanging your favorite hats, this shelf is sure to become a favorite spot in your home.
Ready to bring more of that cozy charm into your home? At The Crafty Renewal, you can find inspiration and support to take your projects to the next level. If you’re considering creating your own custom shelving solution, explore our custom project offerings. A well-crafted wood shelf with hooks can enhance both functionality and style in your space. Discover what’s possible with a little creativity and expert guidance.