Restoring furniture can be like stepping into a time machine that takes you back to when an old piece was brand new. There’s something truly rewarding about bringing a worn-out piece back to life. Whether you’re tackling a classic wooden table or a charming vintage chair, each project comes with its own set of challenges and satisfactions. Furniture restoration is a great way to add a personal touch to your home while being friendly to the environment. Plus, there’s a unique satisfaction in seeing a once neglected item shine with every little effort you put into it.
However, achieving that perfect restored look often means running into some bumps along the road. That’s where understanding common troubleshooting techniques becomes your new best friend. In this guide, we’ll explore various problems that can crop up while you’re breathing new life into those old treasures. We’ll help you recognize these issues right from the start and tackle them effectively. So, whether you’re handling scratches or wobbly legs, you’ll be well-equipped with the know-how to turn challenges into triumphs in your furniture restoration journey.
Common Issues with Furniture Restoration
When embarking on a furniture restoration project, encountering a few hurdles is quite normal. Let’s take a closer look at the most frequent issues and how you can handle them with ease.
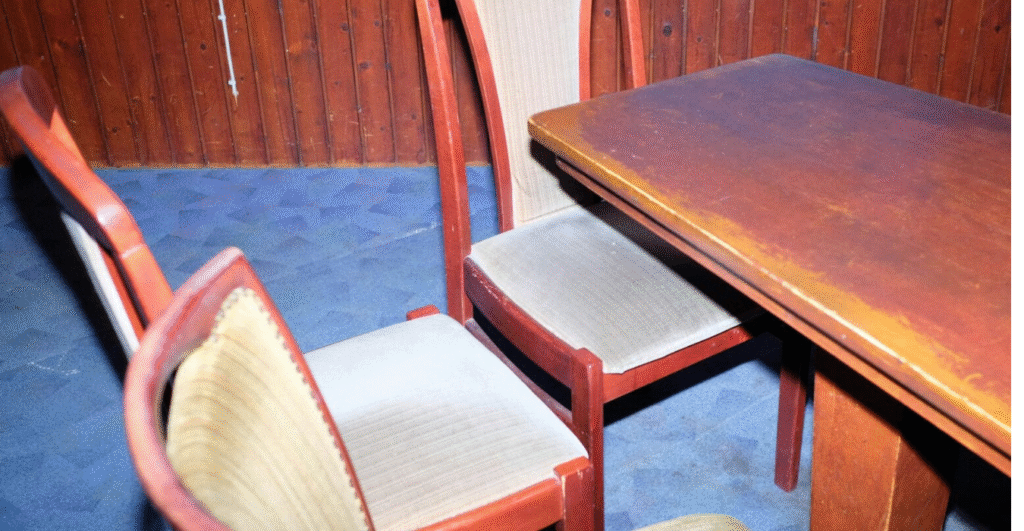
1. Surface Problems: Scratches, dents, and chips are common in older furniture. These blemishes can take away from the beauty of your piece. In wooden furniture, you might notice that the finish looks dull or faded, losing its original sheen.
2. Structural Damage: Over time, furniture can become wobbly or shaky. Legs might start to feel less sturdy, or joints may loosen. These structural problems need a bit of attention to restore their original strength and stability.
3. Upholstery Concerns: If your furniture includes fabric or leather, tears, stains, and worn sections are likely to appear. Fabrics may fade or become threadbare in spots that see more use, like chair seats and armrests.
4. Wear and Tear: General wear and tear are natural as furniture ages. You might spot peeling paint, rust on metal parts, or discolored patches on wood that need some TLC to refresh them.
Recognizing these issues early is key to successful restoration. Knowing what to look for helps you plan better, ensuring you’re prepared with the right tools and techniques. Remember, each piece of furniture tells a story, and with the right care, you can help it continue adding charm to your home.
Effective Solutions for Surface Damage
Don’t let surface damage dishearten you; with the right tips, you can manage and mend these blemishes like a pro. Here are some effective strategies for different types of surface issues:
– Scratches and Minor Dents: Use a wax stick or a matching touch-up pen to fill in scratches. For minor dents, applying a moist cloth followed by ironing over it can help the wood regain its shape.
– Chips: For any chipped areas, fill them with a matching wood filler. Once dried, sand the area lightly before applying a fresh coat of varnish or paint that matches the original finish.
– Dulled Finishes: A faded finish can take on a new life with a little restoration. Start by cleaning the surface thoroughly. Then, use a suitable wood polish or refinishing product to revive its sparkle.
– Discolored Areas: Blend stains or discolored patches in wood by lightly sanding the area and re-staining if necessary. This can help unify the look and restore its natural color.
By addressing these surface issues with care and a bit of patience, you can transform worn-out pieces into beautiful, refreshed items that bring warmth and character to any room.
Dealing with Structural Problems
Addressing structural issues during furniture restoration is crucial for ensuring safety and longevity. One of the most common problems is shaky or wobbly legs, which can make a piece unstable.
– Fixing Wobbly Legs: Check if the legs are loose and secure them with wood glue. Let the glue dry thoroughly before use. If a leg appears damaged, consider replacing it entirely with a matching one from a hardware store.
– Repairing Broken Parts: Identify any broken joints or missing sections. Using appropriate wood adhesive, join broken pieces together and clamp them until dry. Reinforce the repair with braces or brackets if necessary.
– Tightening Joints: Loosened joints can often be tightened by applying glue and using clamps to hold them in place. In some cases, adding extra screws or dowels may be needed for additional support.
Structural concerns left unaddressed can detract from the functionality and appeal of your furniture. By taking the time to fix these issues, you ensure that your restored piece not only looks great but performs well too.
Addressing Upholstery Concerns
Upholstery can significantly influence the aesthetic and comfort of furniture. Hence, tackling upholstery concerns is vital for complete restoration.
– Repairing Tears and Holes: Use a fabric repair kit to patch up small tears. For larger issues, reupholstery might be necessary. Select a fabric that complements the room and withstands frequent use.
– Replacing Worn Upholstery: Detach the old fabric and use it as a template for the new one. Secure the new fabric using a staple gun, ensuring it’s taut and smooth. Corners may require additional attention for a neat finish.
– Choosing Durable Fabrics: Opt for materials like denim or canvas for durable projects that see regular use. For more opulent looks, consider velvet or leather.
Giving your furniture a fabric makeover not only enhances its look but also extends its life, making your home not only appealing but also functional.
DIY Mistakes to Avoid
Even seasoned restorers can fall prey to common DIY pitfalls. Here are some to steer clear of:
1. Skipping Surface Preparation: Not properly cleaning and sanding surfaces before refinishing can result in uneven finishes. Always start with a smooth, clean surface.
2. Using Inappropriate Tools: Make sure your tools match the task. Using the wrong tool can damage the piece or lead to poor results.
3. Rushing the Process: Patience is key in restoration. Allow paint and glue to dry completely to avoid compromising the work.
4. Over-Sanding: Going overboard with sanding can thin out wood and alter its shape, especially in detailed areas. Be gentle and consistent.
5. Neglecting Safety Gear: Always wear safety goggles and masks, particularly when sanding or using strong chemicals.
Avoiding these common errors makes the restoration process smoother and more enjoyable. It also sets the stage for a successful transformation of your cherished furniture pieces.
Wrap Up Your Restoration Project Successfully
Furniture restoration offers a rewarding way to revitalize old pieces while adding personality to your space. By addressing surface blemishes, structural issues, and upholstery concerns, you breathe new life into tired items and restore them to their former glory. As you’ve learned, taking the time to correctly identify and solve the common problems is key to your project’s success.
Whether you’re a handyman at heart or just finding your way, the right techniques and a bit of patience can turn challenges into beautiful results. When finished, you’ll enjoy not just the restored aesthetics but also the pride of accomplishment knowing you’ve revived a piece of history. With these tips, your next restoration can be a fun and fruitful adventure, unlocking the hidden beauty within your furniture.
Ready to tackle your next project, consider exploring more organized and guided approaches to your restoration efforts. The Crafty Renewal can offer expertise and support for your furniture restoration service needs, ensuring your items regain their former charm. Embrace the possibility of transforming your home with dignity and precision, supported by those passionate about renewing cherished pieces.