So, you’ve decided to turn that Facebook Marketplace obsession into a side hustle. You’ve seen the satisfying "before and after" reels, you’ve bought your first sander, and you’re ready to turn trash into treasure. But then reality hits. The paint is peeling, the drawers are sticking, and somehow, after three weeks of work, you’ve actually lost money.
Don't panic. Every pro flipper started exactly where you are. The difference between a hobby that drains your bank account and a side hustle that pads it is simply avoiding a few common pitfalls.
I’ve been in the trenches of furniture restoration for years, and I’ve made every mistake in the book. Today, I’m sharing the seven biggest blunders beginners make and, more importantly, the actionable fixes to get your business on track.
Let’s turn those "oops" moments into "sold" stickers.
1. Skipping the "Boring" Prep Work

The Mistake: You’re excited. You want to see that gorgeous new color on the wood now. So, you give the piece a quick wipe with a damp rag and start painting. Two weeks later, the paint is chipping off in sheets.
The Reality Check: Paint is only as good as the surface it’s clinging to. If there is 40 years of furniture wax, skin oils, or dust on that dresser, the paint won't stick. Period. Skipping prep is the fastest way to ruin a project and your reputation.
The Fix: Deep Clean and Scuff Sand
- Clean first: Use a heavy-duty degreaser like Krud Kutter or Simple Green. If the water on your rag comes off brown, keep cleaning.
- Scuff sand: You don’t need to sand down to bare wood every time, but you do need to "break the shine." A quick pass with 120-150 grit sandpaper creates "tooth" for the paint to grab onto.
- Prime for success: If you’re working with mahogany or cherry, or painting a light color over a dark one, use a stain-blocking primer to prevent "bleed-through."
Want to know exactly what to use? Check out our recommended tools guide for the cleaners and primers I trust.
2. Picking the Wrong Piece of Furniture
The Mistake: You see a "free" couch on the curb or a $10 dresser with a warped top and missing drawers. You think, "I can fix that!"
The Reality Check: Not every piece is worth saving. Your time is your most valuable asset. If a piece requires major structural repairs, has mold, or is made of cheap, crumbling particle board, you’re going to spend more on materials and hours than you’ll ever make back in profit.
The Fix: Be Selective and Strategic
- Check the bones: Look for solid wood, dovetailed drawers, and sturdy frames.
- Avoid the "Big 3" Red Flags: Mold, severe water damage (swelling), and heavy odors (looking at you, cigarette smoke and cat pee).
- Research the style: Mid-century modern and classic farmhouse styles move fast. Ornate, heavy Victorian pieces? Not so much. Start with something simple like a nightstand or a small entryway table.
3. The "Wall Paint" Trap
The Mistake: You have half a gallon of leftover latex paint from your guest room. You figure, "Paint is paint, right?"
The Reality Check: Wrong. Wall paint is designed to sit on a vertical surface and never be touched. Furniture paint needs to withstand kicks, spills, and constant handling. Wall paint on a tabletop will stay "tacky" for months, leading to your decor sticking to the surface.
The Fix: Use Furniture-Specific Products
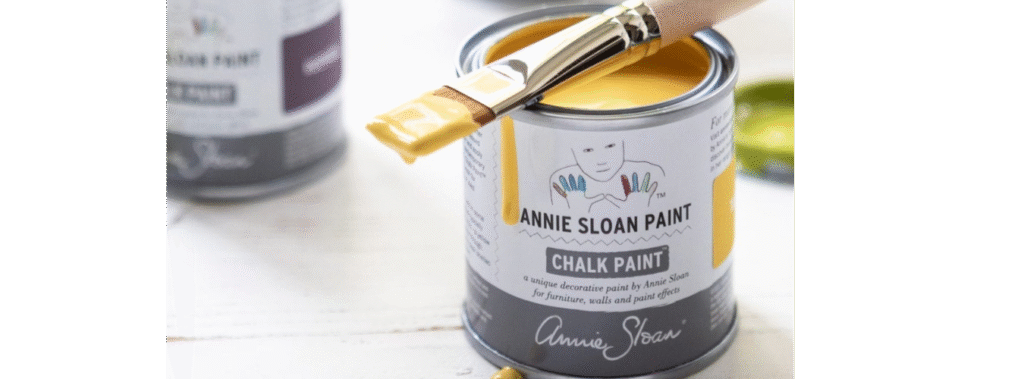
- Invest in Quality: Use chalk, mineral, or milk paints designed for furniture. They have better adhesion and a more durable finish.
- The Topcoat is Non-Negotiable: Unless you’re using an all-in-one paint, you must seal your work. Use a high-quality water-based poly or a furniture wax to protect that beautiful finish.
- Master the Application: Multiple thin coats will always look better and last longer than one thick, drippy coat.
4. Underpricing Your Talent (and Your Time)

The Mistake: You sold a dresser for $150. You bought it for $20, so you think you made $130.
The Reality Check: Did you account for the $15 in sandpaper, the $25 in paint and topcoat, the $10 in new hardware, and the 10 hours of labor you put in? After expenses, you’re likely making less than minimum wage. If you want this to be a side hustle and not just an expensive hobby, you need to track every penny.
The Fix: Use a Professional Tracking System
- Track the "Invisible" Costs: Don't forget gas for pickup, brushes, and staging props.
- Value Your Labor: Decide on an hourly rate. If you wouldn't do the work for someone else at that price, don't do it for yourself.
- Get the Tool: Stop guessing. I created the Profit Planner specifically for this reason. It helps you track expenses, calculate your true profit, and price your pieces so you actually make money.
5. Poor Staging and "Garage Photos"

The Mistake: You take a photo of your finished piece in a dark, cluttered garage with your lawnmower and a pile of laundry in the background.
The Reality Check: Buyers aren't just buying a dresser; they’re buying a vibe. They need to see how that piece will look in their home. Bad lighting and clutter scream "amateur," which means you’ll get lowball offers.
The Fix: Stage Like a Pro
- Natural Light is King: Photograph your pieces near a large window or outside during "golden hour" (but avoid direct, harsh sunlight).
- Declutter the Background: Use a neutral wall or a simple drop cloth.
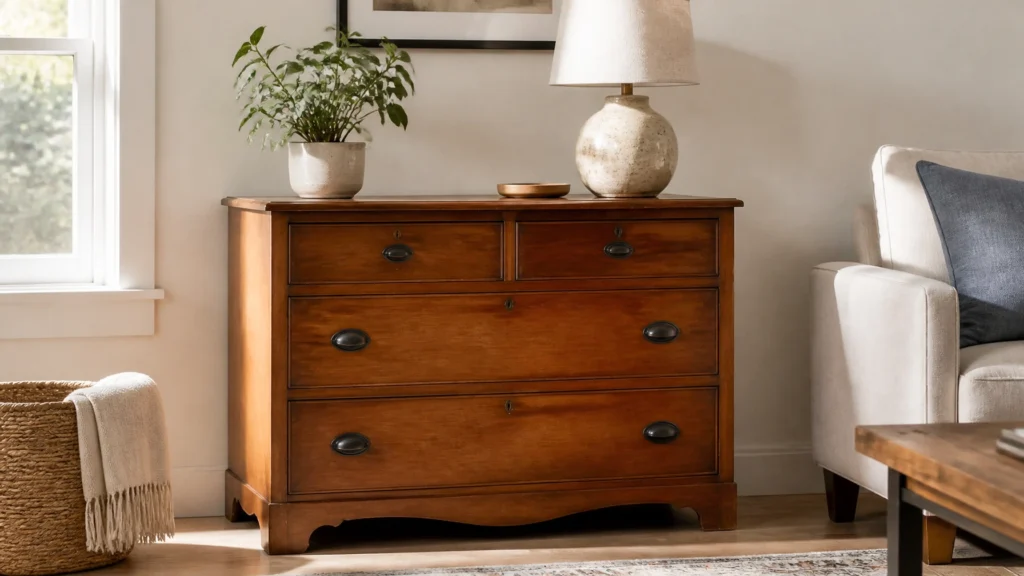
- Add "Life": A simple plant, a stack of books, or a cute lamp can make a world of difference. It gives the piece scale and makes it look high-end.
- Multiple Angles: Take at least 5-8 photos. Show the front, the sides, the top, and: most importantly: the inside of the drawers.
Need more inspiration? Browse our before and after projects to see how staging transforms a look.
6. Rushing the Curing Process
The Mistake: You finish the last coat of poly at 2 PM and list it for sale at 4 PM. A buyer picks it up that evening, puts it in their car, and the blanket they used for protection leaves permanent imprints in the soft paint.
The Reality Check: There is a massive difference between "dry to the touch" and "cured." Paint can feel dry in an hour, but it can take 21 to 30 days to fully harden.
The Fix: Practice Extreme Patience
- Follow the Can: Read the recoat and dry times on your paint. If it says wait 4 hours, wait 4 hours.
- The 24-Hour Rule: Never let a buyer pick up a piece until at least 24-48 hours after the final topcoat.
- Educate the Buyer: Provide a small "care card" that tells the buyer to be gentle with the surface for the first month. This prevents "customer service" headaches later.
7. Flying Blind Without a System

The Mistake: You’re winging it. You try a different technique every time, you forget which primer worked best, and you’re constantly Googling "how to fix paint bubbles" in the middle of a project.
The Reality Check: Consistency is the key to profit. If you want to scale your side hustle, you need a repeatable system that takes the guesswork out of the equation. Every hour you spend wondering "what's next?" is an hour you aren't making money.
The Fix: Follow a Proven Blueprint
- Build Your Process: Create a checklist for every project: Clean, Sand, Prime, Paint, Seal, Stage.
- Keep a Journal: Note which brands of paint gave you trouble and which ones were a dream to work with.
- Get the Shortcut: If you want to skip the years of trial and error, I’ve packaged everything I know into the Beginner Furniture Flip System. It’s a step-by-step toolkit that walks you through finding the right piece, the exact products to use, and how to sell your flip for top dollar. No theory: just practical, real-world advice.
Ready to Start Flipping?
Furniture flipping is one of the most rewarding side hustles out there. You get to be creative, save pieces from the landfill, and build a business with your own two hands.
Don't let these common mistakes discourage you. Every "failed" flip is just a lesson in restoration tips that will make your next project even better.
Take the next step:
- Stop Guessing Your Profits: Grab my Profit Planner and start treating your side hustle like a business.
- Master the Basics: Check out the Beginner Furniture Flip System for the ultimate blueprint to your first successful flip.
- Join the Community: Follow along on our blog for more DIY home décor inspiration.
You’ve got the vision. You’ve got the drive. Now, you’ve got the tools to fix the mistakes before they happen. Let’s get flipping!