Stop walking past those stacks of dusty picture frames at the thrift store. Those cheap, dated, or even slightly broken frames are actually hidden goldmines for your summer home decor. With a little chalk paint and a few simple supplies, you can turn a $2 find into a high-end farmhouse statement piece.
Upcycling isn’t just about saving money. It’s about creating something unique that fits your style perfectly. Whether you want a rustic chalkboard for your kitchen or a coastal-inspired display for your mantel, picture frames are the ultimate versatile canvas.
In this guide, I’ll show you exactly how to transform old frames into stunning summer farmhouse decor. We aren’t doing complicated carpentry here. These are beginner-friendly, high-impact projects that anyone can finish in a weekend.
Grab Your Supplies
Before we dive into the projects, let’s get your workstation ready. You don’t need a professional workshop to get started. Just a few basics will do.
- Old Picture Frames: Any size or material (wood, plastic, or metal) works.
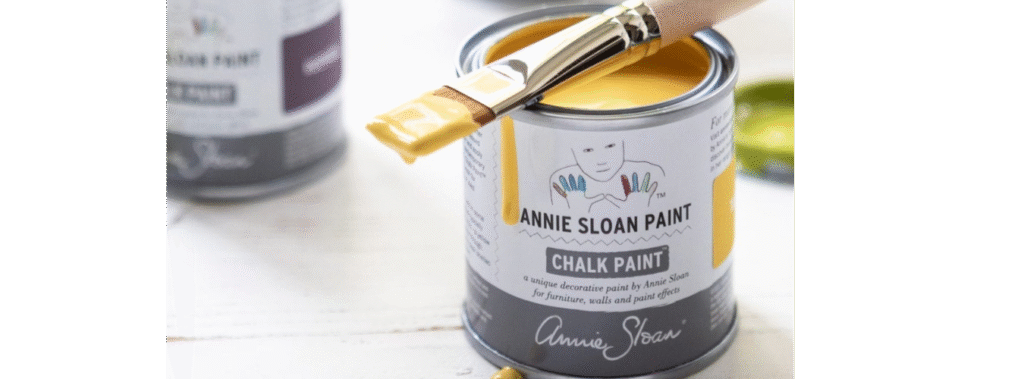
- Chalk Paint: Look for “linen,” “soft white,” or “sage green” for that classic farmhouse look.
- Sanding Block: Medium and fine grit for prep and distressing.
- Paintbrushes: A 1-inch flat brush and a small detail brush.
- Twine or Jute: Perfect for adding texture.
- Hot Glue Gun: Your best friend for attaching decor.
- Clear Wax or Topcoat: To protect your finished piece.
If you’re just starting your DIY journey and feel overwhelmed by choices, my Beginner Furniture Flip System covers everything from picking tools to mastering the perfect finish.
Step 1: Prep and the Farmhouse Finish
Preparation is the secret to a professional-looking flip. If you skip the prep, your paint won’t stick, and your “farmhouse” look will just look messy.
Clean and Sand
Start by removing the glass and backing. Save them! You might need them for specific projects later. Wipe the frame down with a damp cloth to remove dust, grease, and those pesky price tag residues.
If the frame has a high-gloss finish, give it a quick “scuff sand.” You don’t need to sand it down to bare wood. You just want to take the shine off so the paint has something to grab onto.

Apply the Paint
Apply your first coat of chalk paint. Don’t worry about perfect coverage on the first pass. Chalk paint dries fast, so you can usually apply a second coat within 30 to 60 minutes.
The Art of Distressing
For that authentic farmhouse feel, you need a little “wear and tear.” Once your final coat of paint is dry, take a fine-grit sanding block and lightly rub the edges and corners. Focus on the areas where the frame would naturally get bumped over time. This brings out the character of the frame and adds instant history.
Project 1: The Rustic Chalkboard Sign
A chalkboard sign is a farmhouse staple. It’s functional, cute, and incredibly easy to make. Use it for a summer menu, a grocery list, or a “Hello Summer” greeting on your porch.
- Prep the Backing: Take the cardboard or wood backing that came with the frame. If it’s too flimsy, cut a thin piece of plywood to fit.
- Paint the Chalkboard: Apply two coats of chalkboard paint to the backing. Let it dry completely between coats.
- Paint the Frame: Use a bright white or a soft cream chalk paint on the frame itself. Distress the edges well.
- Assemble: Pop the chalkboard backing into the frame.
- Season the Board: Before writing your first message, rub a piece of chalk sideways over the entire surface and wipe it off. This prevents “ghosting” where your first message stays visible forever.

Project 2: Coastal Layered Wall Art
Summer is the perfect time to lean into coastal farmhouse vibes. Think light blues, weathered whites, and natural textures. Layering frames adds depth and interest to any wall or mantel.
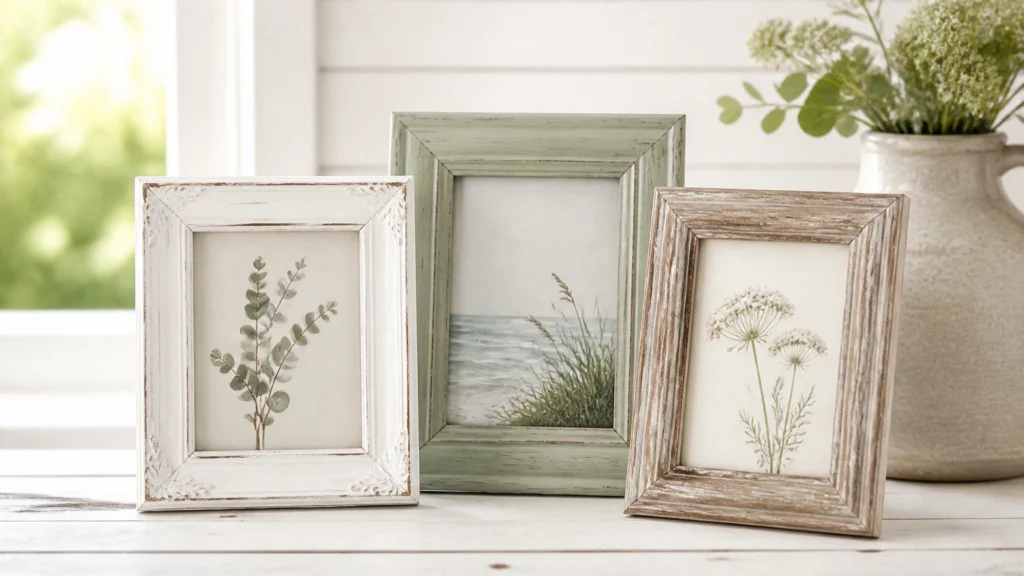
Find three frames of varying sizes that look good together. They don’t have to match! In fact, it’s better if they don’t. Paint one white, one a soft seafoam blue, and leave one as natural wood (or use a weathered wood stain).
Once they are dry, stack them. Place the largest frame in the back, the medium one slightly offset in the middle, and the smallest one on top. Secure them with a little wood glue or hot glue where they touch.
In the center of the smallest frame, add a summer element like a piece of driftwood, a large starfish, or a bunch of dried sea grass tied with twine. This creates a focal point that feels fresh and airy.

Project 3: Summer Herb Garden Markers
If you have a collection of very small frames, don’t toss them. They make the most charming garden markers for your kitchen herb garden.
- The Frames: Use small 2×3 or 3×4 frames.
- The Inserts: Print out vintage-style botanical illustrations of herbs like basil, rosemary, and mint. You can find these for free online.
- The Protection: Keep the glass in these frames to protect the paper from moisture.
- The Mount: Glue a wooden paint stir stick or a thick dowel to the back of the frame.
- The Placement: Stick them directly into your pots. They look incredibly high-end and keep your summer herbs organized.

Project 4: The Shabby Chic Serving Tray
Turn a large, sturdy frame into a beautiful tray for serving lemonade or displaying summer candles.
Choose a frame with a flat profile (not too many deep ridges where glasses might tip). Paint it in a soft sage green or linen white. For the base, you can use the original glass.
Instead of leaving it clear, place a piece of summery fabric, like blue ticking stripe or a floral print, behind the glass. Reassemble the frame and glue a piece of felt to the bottom to protect your furniture. If you want to get fancy, screw two drawer pulls onto the sides of the frame to use as handles.
Avoid These Common Beginner Pitfalls
When you’re starting out, it’s easy to get frustrated. Here is how to keep your projects on track:
- Don’t over-sand: You want distressing, not a total paint removal. Start light. You can always sand more, but you can’t “un-sand.”
- Watch the humidity: Summer heat and humidity can make paint dry strangely. Try to paint in a cool, dry area if possible.
- Seal your work: Always use a wax or clear coat. This protects the paint from scratching and makes the colors pop. If you’re unsure which products to use, check out my Paint Brand Guide for my top recommendations.
Start Flipping Today
Upcycling picture frames is the perfect “entry-level” project for anyone wanting to get into furniture flipping or DIY home decor. It’s low cost, low risk, and high reward.
You don’t need years of experience to create something beautiful. You just need a plan and the right tools. If you’re ready to stop scrolling and start creating, grab my Beginner Furniture Flip System. It’s designed to give you the confidence to tackle any project, from a tiny frame to a full-sized dresser.
Happy flipping, and enjoy your new farmhouse summer retreat!