
So, you finally found it. That perfect, solid wood dresser sitting on the curb or tucked away in the back of a thrift store for twenty bucks. You’ve seen the incredible transformations on Pinterest, and you’re ready to dive into the world of furniture flipping. But then you hit your first roadblock at the hardware store: the paint aisle.
You’ve got Chalk Paint on one side and Mineral Paint on the other. Both claim to be the “holy grail” for furniture flippers. Both promise minimal prep. Both look stunning in the photos. But which one is actually going to help you cross the finish line without a meltdown on your first project?
At The Crafty Renewal, we believe in keeping things practical. Your first flip shouldn’t be a source of stress; it should be your gateway to a new obsession. Let’s break down the chalk vs. mineral debate so you can grab your brush with total confidence.
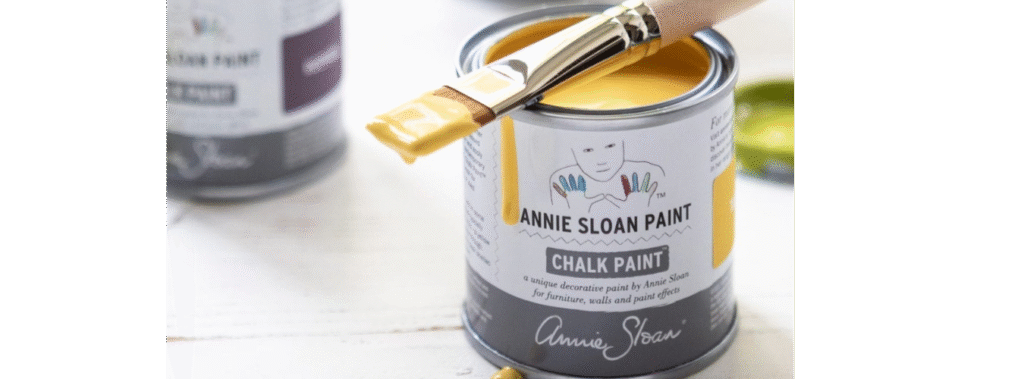
The Lowdown on Chalk Paint: The Vintage King
Chalk paint has been the darling of the DIY world for over a decade. It was popularized by Annie Sloan and quickly became the go-to for anyone wanting that “shabby chic” or French Country look.
Why Flippers Love It:
- Minimal Prep: Chalk paint is famous for its “no sanding, no priming” promise. It sticks to almost anything: wood, laminate, metal, even glass.
- The Aesthetic: It dries to a very matte, chalky finish. If you want a piece that looks like it’s been sitting in a cottage in Provence for eighty years, this is your paint.
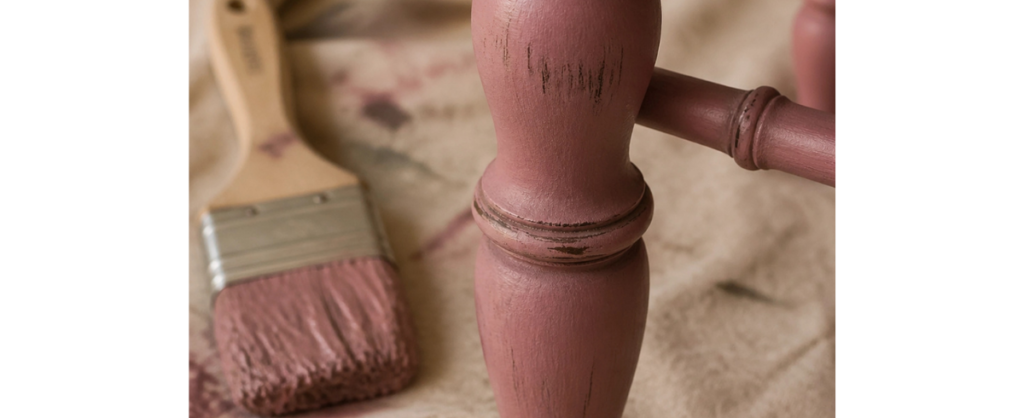
- Easy Distressing: Because it’s porous, you can easily sand back the edges to reveal the wood underneath. You can even “wet distress” it with a damp cloth before it fully cures.
- Thickness: It’s a thick paint. This is great for hiding minor imperfections in the wood surface.
The Beginner’s Catch:
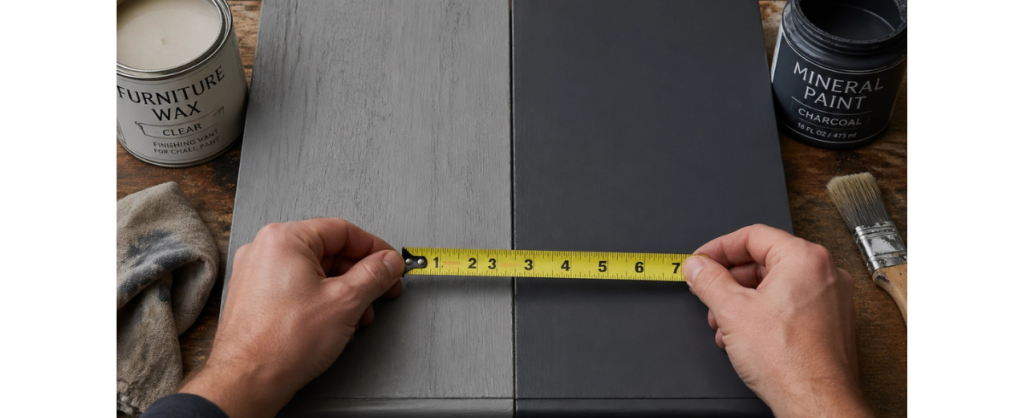
The biggest thing to remember is that chalk paint is porous. If you leave it as-is, it will soak up water, oils from your hands, and dirt like a sponge. To make it durable, you must seal it. This usually involves furniture wax or a water-based polycrylic. Waxing is an art form in itself: it requires buffing and can be physically tiring for a beginner.
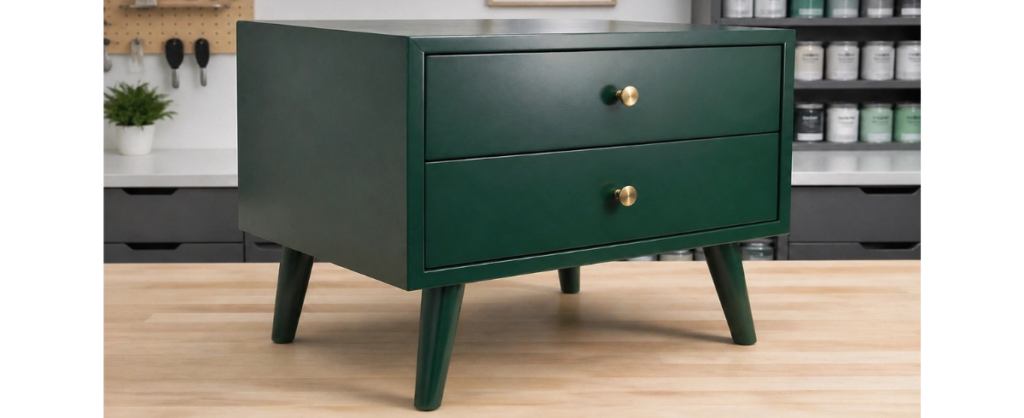
The Breakdown on Mineral Paint: The Modern Marvel
Mineral paint (like the popular Fusion Mineral Paint) is a different beast entirely. It’s made with natural mineral pigments and an acrylic resin base. Think of it as a more sophisticated, “all-in-one” version of furniture paint.
Why Flippers Love It:
- Built-in Topcoat: This is the game-changer. Most mineral paints have a built-in sealer. Once the paint dries and cures, it is waterproof, stain-proof, and extremely durable. No waxing required!
- Self-Leveling: Mineral paint is thinner than chalk paint. It’s designed to “level out” as it dries, which means fewer visible brush strokes. Your finish will look much more professional and “factory-smooth.”
- Durability: Because of the acrylic resin, it’s tough. It’s perfect for high-traffic pieces like coffee tables or kitchen cabinets.
- Ease of Cleaning: Once cured, you can wipe it down with a damp cloth and mild soap without worrying about damaging the finish.
The Beginner’s Catch:
While mineral paint also claims “no prep,” it’s a bit more sensitive to surface oils than chalk paint. You’ll definitely want to give your piece a good cleaning with a degreaser (like TSP) before you start. It also dries faster, so you have to work in sections to avoid “dragging” the paint.
The Showdown: Side-by-Side Comparison
If you’re staring at your piece of furniture and still can’t decide, use this quick reference guide to see how they stack up.
| Feature | Chalk Paint | Mineral Paint |
|---|---|---|
| Prep Level | Very Low | Low (Cleaning is a must) |
| Consistency | Thick & Creamy | Thin & Fluid |
| Finish | Matte & Textured | Smooth & Satin-like |
| Topcoat Needed? | Yes (Wax or Poly) | No (Built-in) |
| Durability | Moderate (Depends on sealer) | High (Very scrubbable) |
| Best For… | Distressed, Rustic looks | Clean, Modern, Sleek looks |
| Skill Level | Beginner Friendly | Beginner Friendly |
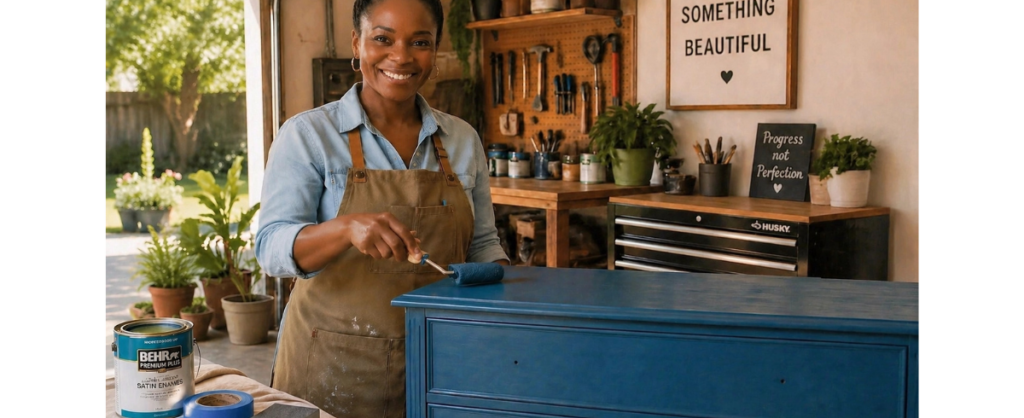
Why Mineral Paint Wins for Your First Flip
I’m going to give it to you straight: For your very first flip, go with Mineral Paint.
Why? Because it removes a major step that often trips up beginners: the topcoat. When you’re just starting, you’re already learning how to clean the furniture, how to hold the brush, and how to apply even coats. Adding the step of applying wax: which can be streaky if done wrong: or polycrylic: which can bubble: is often just one step too many.
With mineral paint, you paint it on, let it dry, and you’re done. It gives you a “win” much faster. You can see some of our finished projects in the Project Gallery to see how different finishes look in real-world settings.
3 Essential Tips for Your First Flip (Regardless of Paint)
Whether you choose chalk or mineral, your success depends on these three “golden rules” of upcycling.
1. Clean Like You Mean It
The #1 reason paint peels or bubbles isn’t the paint: it’s the dirt underneath. Furniture lives a long life. It has layers of Pledge, skin oils, and dust. Scrub your piece with a degreaser. If you skip this, your paint won’t bond, and you’ll be heartbroken when it scrapes off with a fingernail.
2. Invest in a Good Brush
Don’t use the $2 chip brushes from the big-box hardware store. They shed bristles like a golden retriever, and you’ll spend your whole time picking hair out of your wet paint. Get a high-quality synthetic brush (like a Staalmeester or a ClingOn). It makes the application smoother and lasts for years if you clean it properly.
3. Thin Coats are Better
It’s tempting to gloop the paint on to get full coverage in one go. Resist the urge! Two or three thin coats will always look better and be more durable than one thick, drippy coat.
When Should You Choose Chalk Paint?
I don’t want to scare you away from chalk paint forever! It is a fantastic tool to have in your DIY arsenal. You should reach for the chalk paint when:
- You want a heavily distressed “farmhouse” look.
- You are painting a piece with a lot of intricate carvings and you want the paint to look thick and “old-world.”
- You actually enjoy the process of waxing (it can be quite therapeutic!).
If you’re feeling a bit overwhelmed by the technical side of things, remember that every expert started exactly where you are. You can check out our blog for more deep dives into specific techniques.
Ready to Start?
Your first flip is a rite of passage. It’s the moment you stop being a consumer and start being a creator. Whether you choose the rustic charm of chalk paint or the streamlined efficiency of mineral paint, the most important thing is to just start.
Don’t worry about it being “perfect.” The beauty of upcycling is that if you don’t like it, you can just paint over it again! If you have a specific piece you’re worried about and want professional advice, feel free to head over to our Project Request page or Contact Us directly. We love helping new flippers find their groove.
Now, go grab that dresser from the garage, pick your color, and let’s get renewing! You’ve got this.
Quick Checklist for Your Shopping Trip:
- Paint: Chalk or Mineral (based on your style).
- Cleaner: TSP or a heavy-duty degreaser.
- Sanding Sponge: Fine grit (220) just to smooth things out.
- Brush: High-quality synthetic.
- Painter’s Tape: To keep those drawer edges clean.
- Drop Cloth: Because accidents happen!
Happy flipping! If you want to see some of our transformations for inspiration before you start, check out our Before and After gallery. It’s amazing what a little paint can do!